

How to Frame Canvas Art: Avoid 30% Measurement Mistakes
Many art collectors and decorators struggle with framing canvas correctly, leading to damaged artwork or poor aesthetic fit. Research shows that 30% of DIY framers make measurement mistakes that risk artwork damage. This guide covers canvas types, essential tools, step by step framing techniques, style selection, common mistakes, and preservation methods to help you confidently frame canvas art that enhances your contemporary interior while protecting your investment.
Table of Contents
- First Steps: Understanding Your Canvas and Frame Options
- Prerequisites: Tools and Materials Needed Before You Start
- The DIY Approach: How to Frame a Canvas at Home
- Choosing The Perfect Frame Style To Complement Your Artwork
- Common Mistakes And How To Avoid Them
- Preserving And Protecting Your Framed Canvas
- Expected Results And Timelines
- Explore Premium Canvas Art And Framing Solutions
- FAQ
Key Takeaways
| Point | Details |
|---|---|
| Canvas type determines frame choice | Stretched canvas needs floater or deep frames, while canvas boards require traditional frames with different mounting hardware. |
| Archival materials are mandatory | Acid-free backing and UV-protective glazing preserve artwork and reduce deterioration by over 80%. |
| Common DIY mistakes are preventable | Measurement errors, non-archival materials, and wrong hardware cause most failures but are easily avoided with proper preparation. |
| Frame style impacts aesthetics | Floater frames suit modern interiors, wood adds warmth, metal provides sleek contemporary appeal, and acrylic offers budget-friendly options. |
| DIY saves time and money | Complete framing in 2 to 5 hours at home versus waiting 1 to 2 weeks for professional services. |
First Steps: Understanding Your Canvas and Frame Options
Before selecting a frame, you need to identify your canvas type. Stretched canvas consists of canvas fabric pulled taut over wooden stretcher bars, creating depth typically ranging from 0.75 to 2 inches. Canvas board features thinner canvas mounted directly onto rigid cardboard or wood backing, resulting in a flat profile.
These structural differences dictate frame selection. Stretched canvases work best with floater frames or deep profile frames that accommodate their depth without compressing edges. Canvas boards fit traditional flat frames or shadow box styles that provide minimal depth.
Hardware requirements differ significantly between types:
- Stretched canvases use stretcher bar clips or offset brackets that grip the wooden frame without touching the canvas surface
- Canvas boards require standard flat mounting hardware or adhesive hanging strips
- Floater frames need specialized corner brackets designed for their assembly system
Choosing the wrong frame type creates visual imbalance and risks damaging your artwork. A floater frame on canvas board leaves gaps, while a shallow traditional frame crushes stretched canvas edges. Understanding these fundamentals prevents costly mistakes and ensures your framed piece looks professionally finished.
Your canvas type also impacts long term preservation. Stretched canvases maintain better air circulation, reducing moisture buildup that causes mold. Following an art collecting checklist helps you evaluate condition before framing. Proper identification sets the foundation for successful framing that protects your investment while complementing contemporary interiors.
Prerequisites: Tools and Materials Needed Before You Start
Gathering the right supplies before starting prevents interruptions and ensures professional results. Professional framers emphasize that accurate measurement tools, archival backing, UV-protective glazing, and proper frame hardware are mandatory for safe and durable framing.
Essential measuring and marking tools include:
- Metal tape measure for precise canvas dimensions
- Carpenter’s square to verify right angles
- Pencil for marking frame assembly points
- Level for ensuring straight hanging
Frame components and protective materials form the core of your project:
- Frame kit matching your canvas type and style preference
- UV-protective acrylic or glass glazing to block 99% of harmful rays
- Acid-free foam core or mat board backing
- Archival quality mounting tape, never regular adhesive
| Material Type | Purpose | Quality Indicator |
|---|---|---|
| Backing Board | Structural support and protection | Must be acid-free, pH neutral |
| Glazing | UV protection and surface shield | 99% UV filtration minimum |
| Mounting Tape | Secure canvas without damage | Archival, removable adhesive |
| Frame Hardware | Assembly and hanging | Corrosion-resistant metal |
Assembly hardware requirements vary by frame type but typically include corner brackets, hanging wire or D-rings, and frame joining tools. For floater frames, specialized corner clamps ensure tight mitered joints.
Prepare your workspace by clearing a large, flat surface covered with clean cloth to protect the canvas. Wash your hands thoroughly to avoid transferring oils onto the artwork. Organize tools within easy reach to maintain workflow efficiency.
Investing in quality archival materials costs more upfront but prevents deterioration that ruins artwork value. Refer to an expert framing guide for detailed material specifications. Following an art maintenance workflow ensures your framed piece stays pristine for decades.
Double check you have every item before beginning assembly. Missing a critical component mid-project leads to frustration and potential mistakes. Proper preparation separates successful DIY framing from disappointing results.
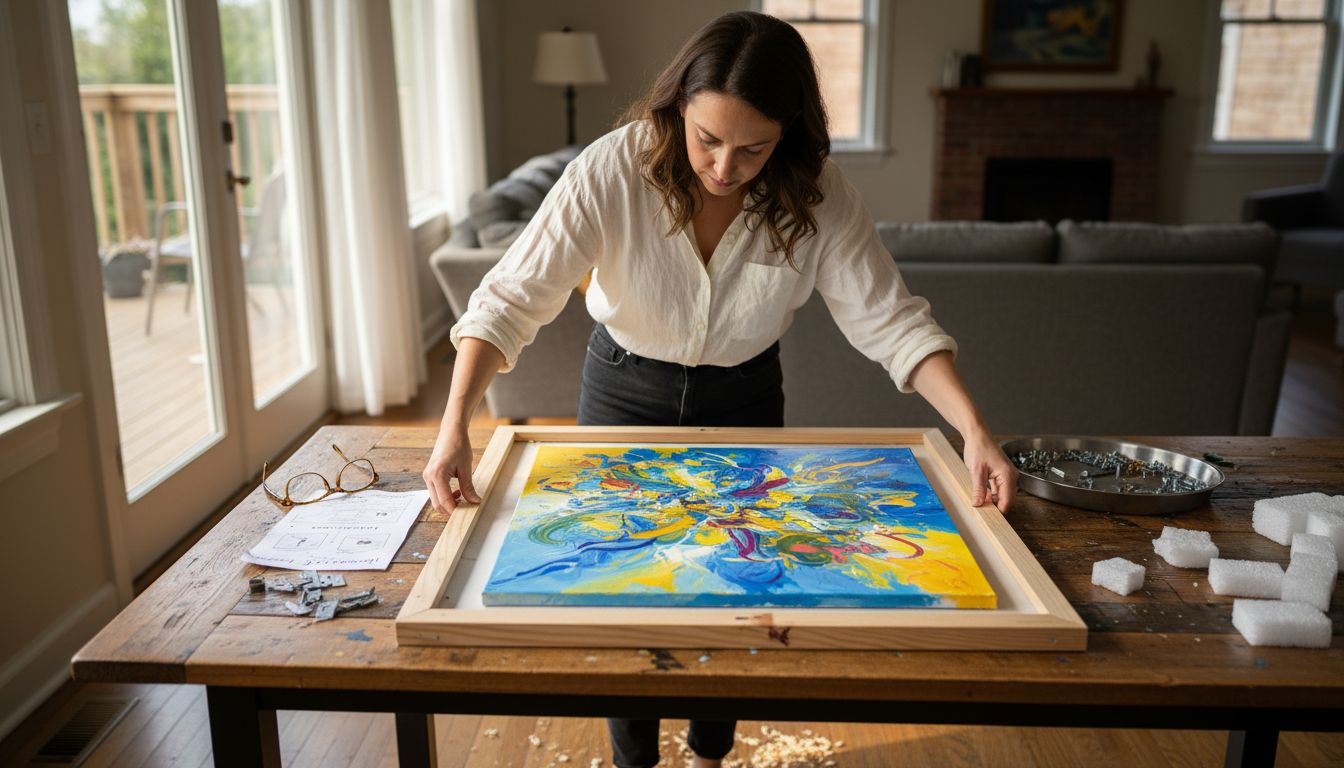
The DIY Approach: How to Frame a Canvas at Home
Framing canvas at home requires patience and precision, but following systematic steps produces professional results. Studies indicate that DIY framing can be completed in 2 to 5 hours with the right preparation, saving cost compared to professional framing which takes 1 to 2 weeks.
-
Measure canvas dimensions twice. Use a metal tape measure to record height, width, and depth at multiple points. Canvases sometimes vary slightly due to stretching tension. Record the largest measurement to ensure frame fit.
-
Select your frame style and material. Match frame depth to canvas thickness, adding 1/8 inch clearance. Choose wood for traditional warmth, metal for modern aesthetics, or a floater frame to showcase canvas edges per contemporary design principles.
-
Prepare archival backing and glazing. Cut acid-free backing board to frame interior dimensions. Clean UV-protective acrylic glazing with microfiber cloth and glass cleaner, avoiding ammonia-based products that damage coatings.
-
Mount canvas using archival methods. Proper mounting techniques require archival mounting tape and offset spacers to prevent canvas distortion and preserve tension. Position spacers on canvas back edges, then apply tape to spacers, never directly to canvas. This creates separation preventing pressure damage.
-
Assemble frame components securely. Join frame corners using provided brackets or corner clamps. Tighten fasteners gradually in diagonal pairs to maintain square alignment. Check corners with carpenter’s square before final tightening.
-
Install glazing carefully. Place glazing in frame rabbet before inserting mounted canvas. Ensure 1/8 inch air gap between glazing and canvas surface to prevent moisture trapping and mold growth.
-
Inspect fit and install hanging hardware. Verify canvas sits centered in frame with even gaps on all sides. Attach D-rings one third down from top edge or string hanging wire between them with slight slack for level hanging.
Pro Tip: Lay the frame flat on your work surface during assembly rather than holding it upright. This prevents components from shifting and ensures perfect alignment without fighting gravity. Take a 5 minute break between major steps to check your work with fresh eyes.
Follow luxury framing standards even for DIY projects. Rushing through steps or skipping archival materials compromises both appearance and preservation. The methodical approach yields gallery quality results while building your confidence for future framing projects.
Choosing the Perfect Frame Style to Complement Your Artwork
Frame selection dramatically impacts how artwork integrates with your interior design. The right frame enhances the piece while complementing your existing décor, creating visual harmony that elevates the entire space.
Floater frames represent the premium choice for stretched canvases. These frames feature an interior rabbet set back from the frame face, making the canvas appear to float within the frame with visible edges on all sides. Modern floater frames offer a contemporary aesthetic emphasizing canvas edges and assemble easily at home within 5 minutes using simple corner brackets. Premium hardwood construction ensures durability while natural wood grains add warmth.
Traditional frame materials each bring distinct advantages:
- Wood frames provide classic warmth and versatility, available in countless stains and finishes from light oak to dark walnut. They suit traditional and transitional interiors.
- Metal frames deliver sleek modern lines perfect for contemporary spaces. Aluminum and steel options come in brushed, polished, or powder-coated finishes.
- Acrylic frames offer lightweight, budget-friendly alternatives with crystal clarity. Ideal for renters or frequently changing displays.
| Frame Type | Best For | Price Range | Assembly Time |
|---|---|---|---|
| Floater Frame | Stretched canvas, modern interiors | $$$ | 5 to 10 minutes |
| Wood Traditional | Canvas board, classic décor | $$ | 15 to 30 minutes |
| Metal Modern | Any canvas, contemporary spaces | $$ | 10 to 20 minutes |
| Acrylic Clear | Lightweight needs, minimalist style | $ | 5 to 15 minutes |
Matching frames to your interior requires considering wall color, furniture style, and existing artwork. Rooms with warm wood tones benefit from coordinating wood frames, while spaces with metal fixtures and cool colors pair well with metal frames. Consider how frames for contemporary wall art integrate with broader design schemes.
Pro Tip: Photograph your wall and artwork together, then digitally overlay different frame styles using a smartphone app before purchasing. This visualization prevents costly mismatches and builds confidence in your selection. Consider the relationship between art and interior design when making final decisions.
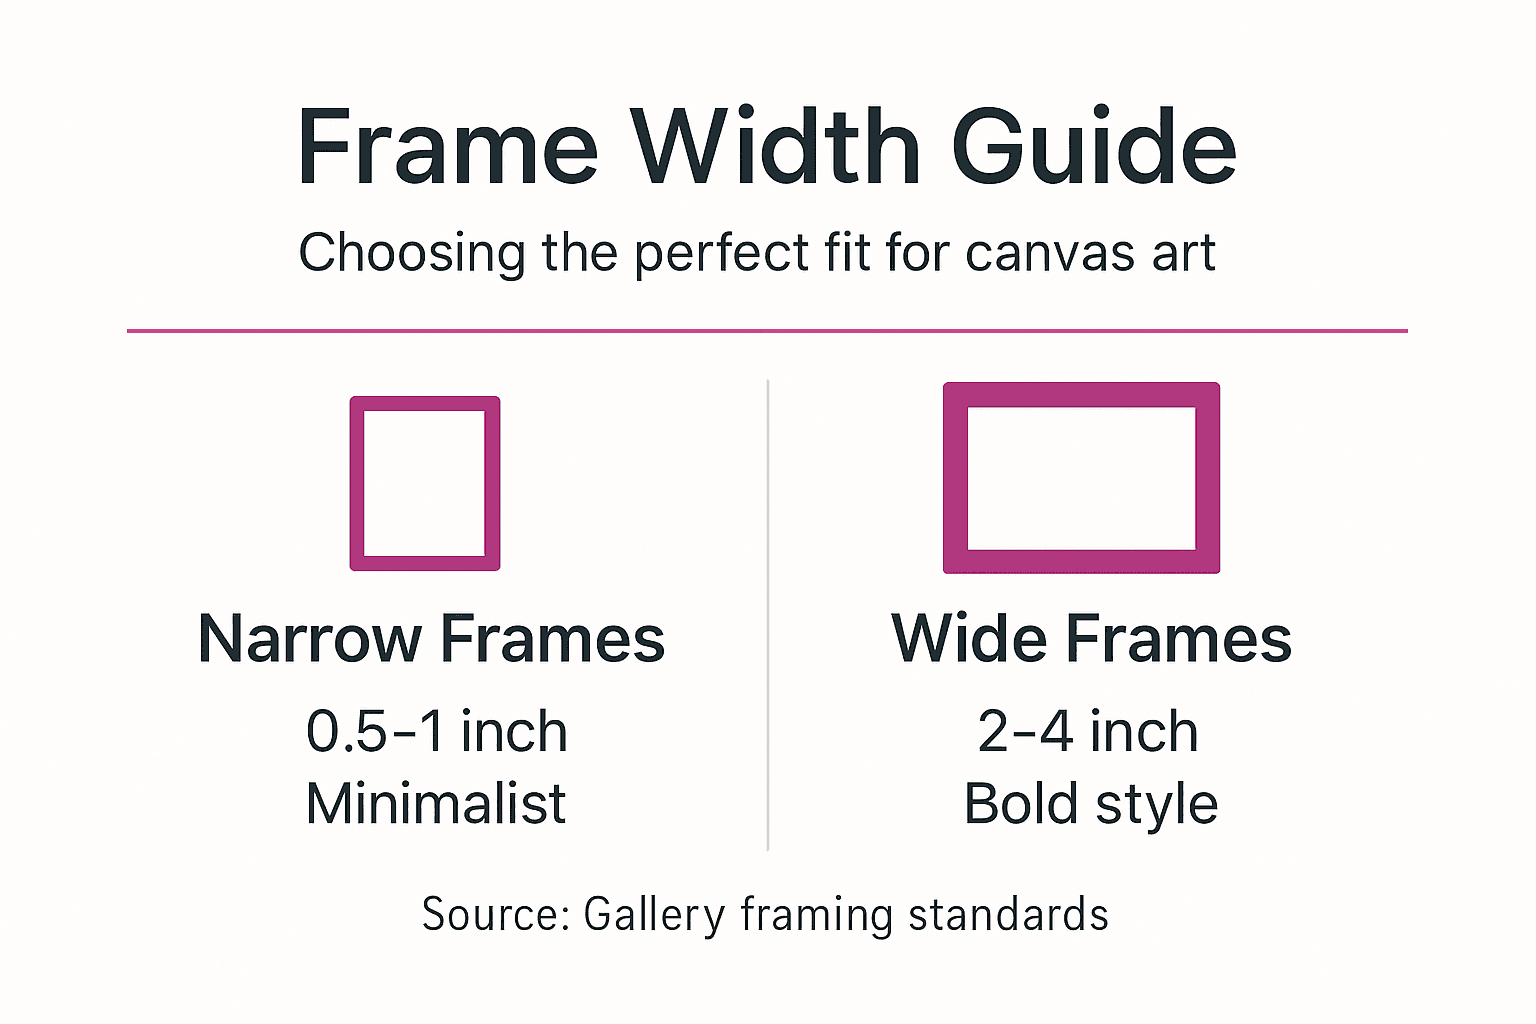
Frame width matters too. Narrow frames from 0.5 to 1 inch suit smaller canvases and minimalist spaces. Wide frames from 2 to 4 inches make bold statements and work well with large scale artwork in spacious rooms. Balance frame presence with canvas size to avoid overwhelming or underwhelming the composition.
Common Mistakes and How to Avoid Them
Understanding frequent framing errors helps you sidestep problems that compromise artwork and waste resources. Research reveals specific failure rates: measurement errors occur in roughly 30% of DIY framings, non-archival materials cause damage in 25%, wrong hardware causes distortion in 20%, and UV protection is overlooked in 18% of projects.
Nearly one in three DIY framing attempts fail due to measurement errors alone, resulting in loose frames that allow canvas shifting or tight frames that compress and distort canvas edges.
Measurement mistakes happen when you measure once or measure at only one point. Canvas dimensions vary slightly across surfaces due to stretching tension. Always measure height, width, and depth at three points along each dimension, then use the largest measurement for frame selection. Add 1/8 inch clearance to prevent binding.
Non-archival materials represent false economy. Regular cardboard backing contains acids that migrate into canvas, causing yellowing, brittleness, and brown spots within months. Standard tape adhesives contain chemicals that stain and become permanent. Invest in acid-free, lignin-free backing boards and archival mounting tape marked pH neutral. These materials cost 20% to 30% more but prevent damage worth thousands. Review archival preservation methods for detailed guidance.
Improper mounting techniques damage canvas irreversibly:
- Stapling canvas directly to backing punctures and weakens fabric
- Gluing canvas edges creates permanent bonds impossible to remove for conservation
- Over-tightening mounting tape distorts canvas weave and changes appearance
- Skipping offset spacers allows glazing contact that traps moisture
Hardware mismatches create structural problems. Using hooks rated for lighter weights causes frames to fall. Installing hanging wire too tight prevents level hanging. Placing D-rings at frame midpoint makes pieces hang nose-down. Select hardware rated for 3 times your frame weight and position D-rings one third down from the top edge.
Missing UV protection allows light damage that fades pigments and yellows canvas over time. Even indirect light contains ultraviolet radiation. Always include UV-protective glazing rated for 99% filtration. This single addition extends artwork life by decades. Combine protective glazing with proper care instructions for comprehensive preservation.
Avoiding these mistakes requires slowing down, investing in quality materials, and following proven methods rather than improvising. The extra care taken during framing prevents regret and preserves artwork value.
Preserving and Protecting Your Framed Canvas
Proper preservation techniques built into framing protect your investment for generations. Professional conservation research shows that use of acid-free backing and UV-protective glazing reduces canvas deterioration by over 80% compared to standard materials.
Acid-free backing boards form the foundation of archival framing. These boards undergo manufacturing processes removing lignin and other acidic compounds that degrade over time. Select backing marked acid-free, lignin-free, and pH neutral, typically ranging from pH 7 to 9. Buffered boards contain calcium carbonate that neutralizes acids migrating from surrounding materials, providing extra protection in humid climates.
UV-protective glazing blocks harmful ultraviolet and infrared radiation that fades pigments and breaks down canvas fibers. Museum-quality acrylic glazing filters 99% of UV rays while remaining lighter and more shatter-resistant than glass. For valuable artwork, consider UV-filtering glass with anti-reflective coatings that enhance visibility while protecting. Position glazing with the protective coating facing outward toward light sources.
Archival mounting methods secure canvas without causing damage:
- Use only archival quality pressure-sensitive tape that remains removable
- Never apply adhesive directly to canvas surface or edges
- Position offset spacers between canvas back and backing board
- Allow air circulation to prevent moisture accumulation
Environmental controls significantly impact longevity. Maintain room temperature between 65°F and 75°F with relative humidity from 40% to 50%. Higher humidity promotes mold growth, while lower humidity causes canvas brittleness and cracking. Install framed canvases away from heating vents, fireplaces, and exterior walls where temperature fluctuations are greatest.
Routine maintenance preserves appearance without risking damage. Dust frames monthly using a soft, dry microfiber cloth, working from top to bottom. Never use spray cleaners, water, or chemical products on canvas or frames. For stubborn dust, use a clean, soft bristle brush with gentle sweeping motions. Avoid touching canvas surface with fingers, as skin oils leave permanent marks.
Pro Tip: Position framed canvas perpendicular to windows rather than directly across from them. This orientation minimizes direct sunlight exposure while maintaining room brightness. In rooms with unavoidable direct light, install UV-filtering window film that blocks 99% of damaging rays while remaining transparent. Combine positioning strategies with proper maintenance workflows for optimal results.
Preservation represents an ongoing commitment rather than a one-time effort. Regular inspection for signs of deterioration such as fading, yellowing, or mold allows early intervention before damage becomes irreversible. Following fine art preservation principles ensures your framed canvas remains beautiful for decades.
Expected Results and Timelines
Understanding realistic timeframes and outcomes helps you plan framing projects effectively. Industry data shows that DIY framing typically takes 2 to 5 hours from start to finish, while professional framing usually requires 1 to 2 weeks for completion and pickup.
DIY framing timelines break down into distinct phases. Initial preparation including gathering materials and setting up workspace takes 30 to 60 minutes. Measuring and frame assembly requires 1 to 2 hours depending on frame complexity. Mounting canvas and installing glazing adds another 30 to 60 minutes. Final inspection and hanging hardware installation completes the remaining 30 minutes. First-time framers should budget toward the longer end of these ranges, while experienced DIYers work more quickly.
Professional framing extends longer due to shop workload and custom cutting requirements. Initial consultation and material selection takes 30 to 60 minutes. Frame cutting, assembly, and mounting occur over several days as shops batch similar work for efficiency. Quality control and final preparation add another day before pickup notification.
| Factor | DIY Approach | Professional Service |
|---|---|---|
| Total Time | 2 to 5 hours | 1 to 2 weeks |
| Material Cost | $50 to $150 | $150 to $400 |
| Skill Required | Moderate, learnable | Expert provided |
| Customization | Limited to available kits | Fully custom options |
| Protection Level | High with proper materials | Highest, guaranteed archival |
Cost factors vary significantly based on choices. DIY material costs range from $50 for basic frames with standard glazing to $150 for premium floater frames with museum-quality acrylic. Professional services start around $150 for simple framing and reach $400 or more for large canvases with custom matting and premium materials. Labor represents 50% to 60% of professional framing costs.
Visual and preservation benefits justify the investment regardless of method chosen. Properly framed canvas gains:
- Enhanced visual impact through complementary frame styling
- Physical protection from dust, moisture, and accidental contact
- UV damage prevention extending color vibrancy for decades
- Increased perceived and actual value for resale or insurance
The impact of framed prints on interior aesthetics creates immediate transformation. Rooms feel more finished and intentional when artwork receives proper presentation. Guests notice and comment on well-framed pieces, validating the effort and expense invested.
Budget extra time for learning if attempting DIY framing for the first time. Mistakes happen, and having cushion prevents rushing through critical steps. The skills gained during initial projects transfer to future framing needs, making subsequent projects faster and more confident.
Explore Premium Canvas Art and Framing Solutions
Now that you understand proper framing techniques, explore curated canvas artwork designed for contemporary interiors. Eman’s Gallery offers original handmade paintings and museum-quality canvas prints created by artist Eman Khalifa, each ready for framing using the methods covered in this guide.
Discover unique abstract compositions like Private Eye, featuring bold geometric forms in rich colors perfect for modern living spaces. The dramatic Nocturned original painting brings sophisticated depth to dining rooms and studies with its layered textures and moody palette.

Browse the complete wall art prints collection to find pieces matching your style and space requirements. Every artwork ships worldwide from strategically located fulfillment centers, ensuring fast delivery whether you’re in the UK, USA, Canada, or beyond. Select frames during checkout or frame independently using techniques from this guide for a truly personalized presentation.
FAQ
What type of frame is best for stretched canvas art?
Floater frames deliver the ideal solution for stretched canvases, creating a contemporary floating effect where canvas edges remain visible within the frame. These frames accommodate canvas depth without compressing edges, preserving the artist’s intended presentation. Their modern aesthetic complements contemporary frame styles popular in upscale interiors today.
Can I use non-archival materials for framing canvas art?
Non-archival materials lead to preventable damage including yellowing, acid migration, and mold growth over months to years. Studies document that non-archival materials cause deterioration in 25% of framing cases. Always specify acid-free backing boards and archival mounting tapes to protect your investment. Learn more about archival preservation methods for comprehensive guidance.
How long does a DIY canvas framing project typically take?
Most DIY framing projects require 2 to 5 hours from preparation through final installation, according to framing professionals. First-time framers should budget toward the longer estimate, while experienced hands work more efficiently. Proper measuring and material preparation before starting significantly reduces total time by preventing errors that require rework.
What maintenance is needed for framed canvas art?
Framed canvases require minimal ongoing maintenance when positioned properly. Dust frames and glazing monthly using a soft, dry microfiber cloth with gentle wiping motions. Never apply water, glass cleaner, or chemical products to canvas surfaces. Keep framed pieces away from direct sunlight, heating vents, and bathrooms where humidity fluctuates. Follow a comprehensive art print maintenance workflow for detailed care scheduling.
Recommended
- 7 Pro Canvas Print Tips for Upscale Interiors - Eman’s Gallery
- Expert Guide to Framing Prints for Luxury Home Decor
- 8 Steps to a Perfect Gallery Wall Checklist for Modern Homes
- Art Print Sizes Explained: Choosing the Perfect Fit - Eman’s Gallery
Stay Connected
- ✨ Explore Eman Khalifa’s original art and fine art prints
- 📸 Follow Eman Khalifa’s art journey on: Instagram @emans_gallery and Facebook Eman’s Gallery
- 📹 Watch Eman Khalifa creating live art on: YouTube @emans_gallery