


Expert Guide to Framing Prints for Luxury Home Decor
Choosing how to frame a contemporary print can feel just as important as selecting the piece itself, especially when your goal is to create a sophisticated atmosphere in a luxury American or British home. From subtle color palettes to bold styles, every detail matters when curating an art collection that stands out. With practical guidance rooted in professional framing techniques and display strategies, you will discover how to highlight your investment and transform everyday rooms into stunning art showcases.
Table of Contents
- Step 1: Assess Your Art Print And Display Needs
- Step 2: Prepare Your Workspace And Gather Materials
- Step 3: Select The Ideal Frame And Mounting Style
- Step 4: Assemble Your Print With Care And Precision
- Step 5: Inspect And Hang For A Flawless Presentation
Quick Summary
| Key Point | Explanation |
|---|---|
| 1. Assess Your Art Print Needs | Evaluate print dimensions, paper type, color palette, and artwork style to choose the right framing and display strategy. |
| 2. Prepare Your Workspace | Set up a clean, organized area with appropriate materials to ensure a professional framing process without damage. |
| 3. Select the Right Frame | Choose frame materials and styles that enhance your artwork while considering durability, color, and size for optimal presentation. |
| 4. Assemble with Precision | Follow careful assembly steps, aligning and securing your print properly to maintain its quality and visual appeal. |
| 5. Properly Hang Your Artwork | Choose the right wall location and hardware, ensuring proper height and stability for a visually balanced display. |
Step 1: Assess your art print and display needs
Before selecting a frame or hanging method, you’ll want to thoroughly evaluate your art print’s unique characteristics and your specific display environment. Understanding these elements helps create a stunning visual presentation that complements both your artwork and interior design.
Start by carefully examining your art print’s key attributes:
- Print dimensions - Measure the exact width and height
- Paper or canvas type - Identify whether it’s a delicate paper print or sturdy canvas
- Color palette - Note dominant colors that might influence frame selection
- Style of artwork - Contemporary, traditional, minimalist, or eclectic
Displaying artwork effectively requires strategic planning. Consider the print’s visual weight, the room’s existing color scheme, and potential wall locations that maximize the artwork’s impact.
Professional art displays transform personal spaces into curated galleries by thoughtfully matching frames and locations.
Evaluate your display environment by assessing:
- Available wall space
- Natural and artificial lighting conditions
- Room’s overall design aesthetic
- Potential glare or sun damage risks
Pro tip: Take high-resolution photos of your space and artwork to digitally experiment with potential display arrangements before making final decisions.
Step 2: Prepare your workspace and gather materials
Framing art prints requires meticulous preparation and the right materials. This step will help you create a professional-looking display by setting up a clean, organized workspace and collecting all necessary supplies.
Professional framing techniques start with strategic material selection and workspace preparation. Gather these essential materials before beginning:
- Protective gear - White cotton gloves to prevent fingerprints
- Measuring tools - Metal ruler, precision measuring tape
- Cutting supplies - Sharp utility knife, cutting mat
- Mounting materials - Acid-free mat board, foam board
- Adhesive tools - Acid-free tape, archival mounting corners
- Cleaning supplies - Microfiber cloth, compressed air duster
A well-prepared workspace is the foundation of professional art framing.
Set up your workspace with these critical steps:
- Choose a clean, flat surface with excellent lighting
- Cover your workspace with a protective cloth
- Organize tools within easy reach
- Ensure the area is dust-free and temperature-controlled
Pro tip: Work in a well-lit area with natural daylight to accurately assess colors and detect potential imperfections in your art print or framing materials.
Step 3: Select the ideal frame and mounting style
Choosing the perfect frame transforms your art print from a simple piece of paper into a stunning visual statement. This crucial step involves understanding how frame materials, styles, and mounting techniques can dramatically enhance your artwork’s presentation and longevity.
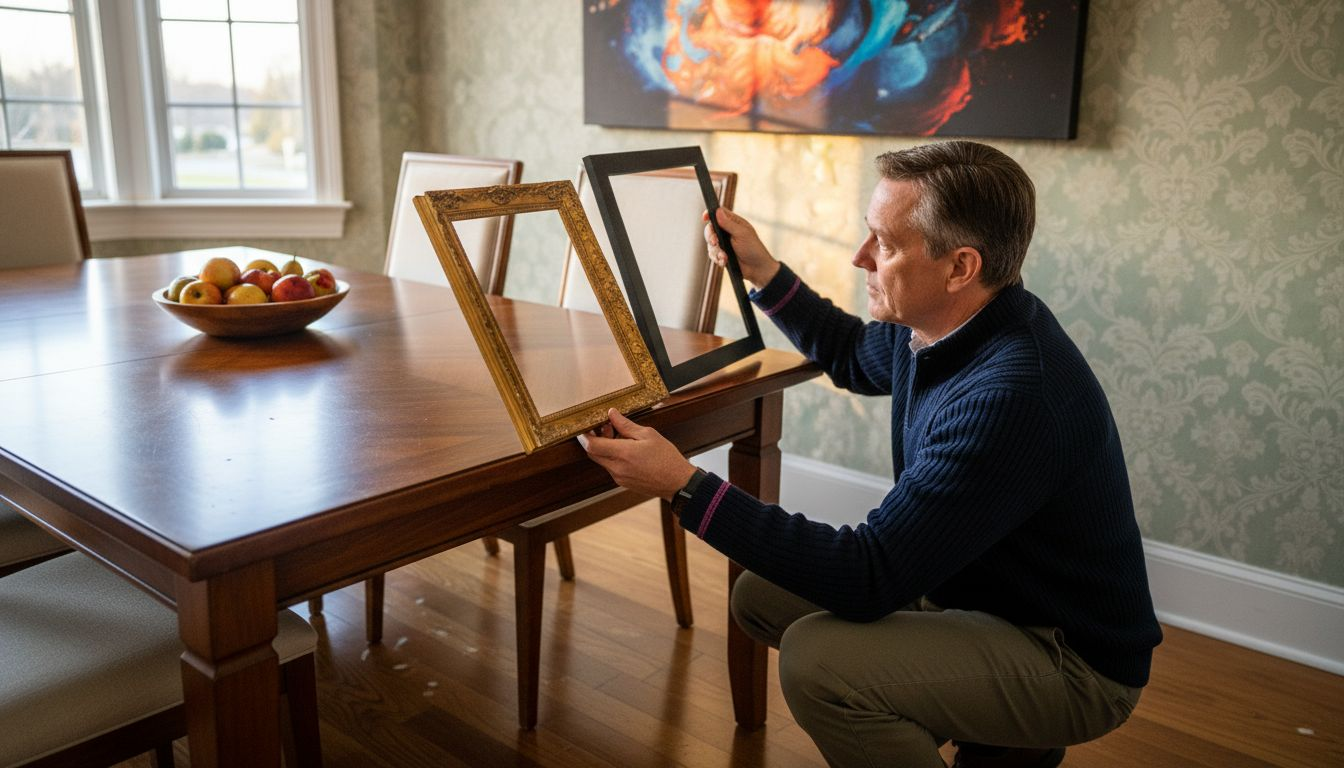
Frame anatomy and selection requires careful consideration of multiple design elements. Consider these key factors when selecting your frame:
Here’s a quick comparison of frame materials and their benefits:
| Frame Material | Visual Appeal | Durability | Best Use |
|---|---|---|---|
| Wood | Warm, classic | Long-lasting | Traditional or vintage art |
| Metal | Sleek, modern | Highly durable | Minimalist or contemporary art |
| Composite | Versatile, affordable | Moderate durability | Budget-friendly or casual prints |
- Frame material - Wood, metal, or composite
- Color palette - Complementary or contrasting frame tones
- Frame width - Proportional to print size
- Finish - Matte, glossy, or textured surfaces
- Archival quality - Preservation-grade materials
The right frame does more than contain your art it elevates the entire visual experience.
Explore mounting options that protect and showcase your print:
- Choose mat board for a classic, refined look
- Select foamcore for lightweight, modern presentations
- Consider glass or acrylic glazing for protection
- Match mounting style to your print’s medium and aesthetic
Pro tip: Always purchase frames slightly larger than your print to accommodate proper mounting and create a professional visual buffer.
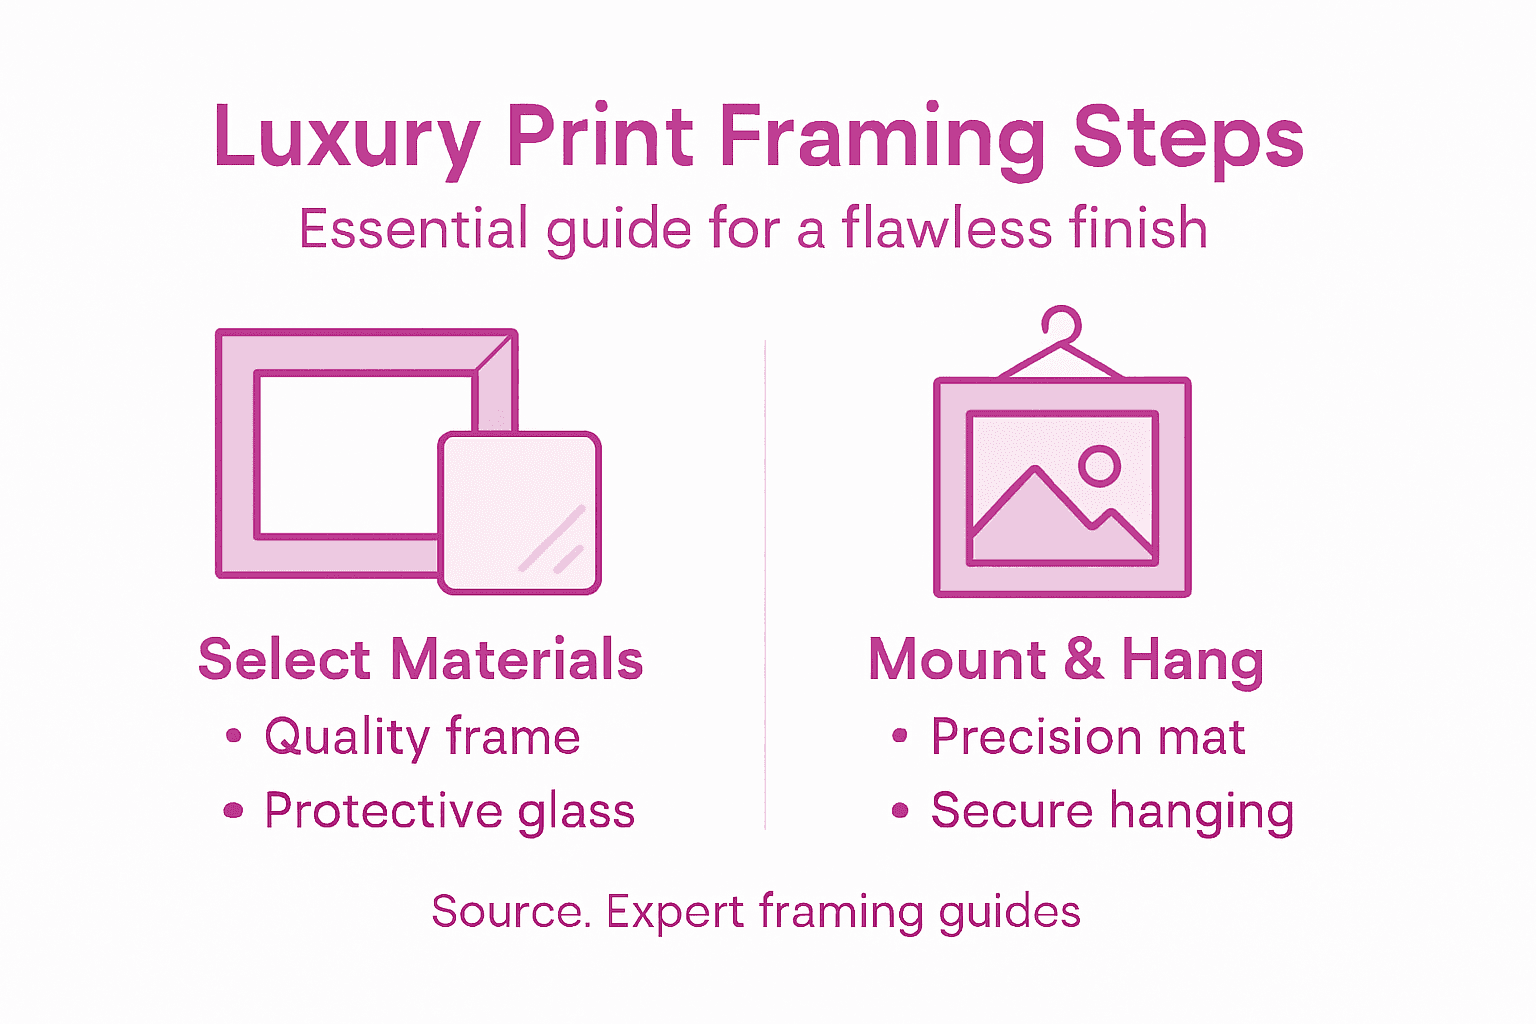
Step 4: Assemble your print with care and precision
Framing your art print requires a delicate touch and methodical approach. This step transforms your carefully selected materials into a professional-looking display that protects and showcases your artwork.
Print framing techniques demand precision and attention to detail. Follow these critical assembly steps:
- Workspace preparation - Clean, dust-free surface
- Handling - White cotton gloves to prevent fingerprints
- Alignment - Use measuring tools for perfect centering
- Mounting - Acid-free tape for secure attachment
- Protection - Archival-grade materials to prevent damage
Precision in assembly determines the final presentation quality of your framed artwork.
Assemble your print with these systematic steps:
- Clean the glass or acrylic glazing thoroughly
- Position mat board or foam board
- Center the print carefully
- Secure print with acid-free mounting tape
- Check alignment from multiple angles
- Close frame backing securely
Pro tip: Work under soft, indirect lighting to accurately assess print alignment and detect any potential imperfections during the framing process.
Step 5: Inspect and hang for a flawless presentation
The final stage of framing transforms your carefully prepared artwork into a stunning visual focal point. This crucial step ensures your print is displayed professionally and securely in your chosen space.
Art print hanging techniques require precision and strategic planning. Consider these essential preparation factors:
- Location selection - Ideal lighting and wall space
- Height considerations - Standard eye-level placement
- Wall material - Appropriate hanging hardware
- Weight distribution - Secure mounting options
- Environmental factors - Avoid direct sunlight exposure
Perfect presentation is about more than placement it’s about creating a visual narrative.
Execute your hanging strategy with these systematic steps:
Use this table to help select the right hanging hardware based on your wall type:
| Wall Type | Recommended Hardware | Special Considerations |
|---|---|---|
| Drywall | Anchors or hooks | Choose weight-rated anchors |
| Plaster | Heavy-duty hooks | Drill pilot holes first |
| Brick | Masonry screws | Use wall plugs for stability |
| Concrete | Expansion anchors | Avoid hammering directly into wall |
- Measure and mark precise hanging point
- Select appropriate wall anchors
- Install hanging hardware securely
- Check frame alignment using level
- Make minor adjustments for perfect positioning
- Verify stability and weight distribution
Pro tip: Use painter’s tape to create a template of your frame on the wall before installing hardware to visualize exact placement and prevent unnecessary wall damage.
Elevate Your Home Decor with Expertly Framed Art Prints
Choosing the perfect frame and mounting style for your art print can feel overwhelming when aiming for luxury home decor. This guide highlights how professional framing techniques and careful selection of archival materials not only protect your artwork but also enhance its visual impact. If you want to skip the hassle and ensure your walls showcase museum-quality pieces, explore our exclusive collection of premium canvas prints and framed art.

Discover the elegance of original paintings and hand-finished canvas prints designed to complement any sophisticated interior. Start your transformation today by browsing Canvas Art Prints by Eman Khalifa | Premium Giclée Wall Art – Eman’s Gallery or explore a wider range of Wall Art Prints | Canvas & Framed Art Prints by Eman Khalifa – Eman’s Gallery. Elevate your space with unique artworks made for refined tastes. Visit Eman’s Gallery now and bring luxury art framing into your home with confidence.
Frequently Asked Questions
How do I assess my art print for proper framing?
Start by measuring the print dimensions, identifying the type of paper or canvas, and noting the color palette and style of the artwork. This information helps you choose the ideal frame and mounting style to enhance its presentation.
What materials do I need for framing my art prints?
Essential materials include protective gear, measuring tools, cutting supplies, mounting materials, adhesive tools, and cleaning supplies. Gather everything before you begin to ensure a smooth and organized framing process.
How do I select the right frame for my art print?
Consider the frame material, color palette, and width proportional to the print size. Aim for a frame that complements the artwork’s style and enhances its visual appeal.
What steps should I follow to assemble my framed art print?
First, prepare your workspace and handle the print with care, using white gloves. Align the print with the mat or foam board, secure it with acid-free tape, and check for even centering before closing the frame backing.
How do I hang my framed art print securely?
Select appropriate hanging hardware based on your wall type, measure and mark precise hanging points, and install the hardware securely. Use a level to ensure the frame is aligned perfectly for a professional presentation.
What should I consider regarding lighting and environmental factors when displaying my framed artwork?
Avoid placing your framed print in direct sunlight to prevent fading and damage. Assess natural and artificial lighting conditions in the room and select a wall location that maximizes the artwork’s impact while maintaining protection against glare.
Recommended
- What Is Framed Art Print and Why It Matters – Eman’s Gallery
- Role of Art Prints in Interior Design Luxury Spaces
- Why Decorate With Prints: Impact on Luxury Spaces
- Role of Prints in Decor: Elevating Luxury Interiors
Stay Connected
- ✨ Explore Eman Khalifa’s original art and fine art prints
- 📸 Follow Eman Khalifa’s art journey on: Instagram @emans_gallery and Facebook Eman’s Gallery
- 📹 Watch Eman Khalifa creating live art on: YouTube @emans_gallery
