


How to Make Copies of Artwork: Methods and Tips
TL;DR:
- Mastering accurate art reproduction enhances an artist’s reach and deepens understanding of their work.
- Using proper tools, workflows, and professional standards ensures high-fidelity digital copies suitable for quality printing.
Whether you want to sell prints, build a portfolio, or simply preserve your work, knowing how to make copies of artwork accurately is a skill every artist needs. The gap between a flat phone photo and a museum-grade reproduction is wider than most people expect. It comes down to preparation, the right tools, and a clear workflow. This guide covers the full process: what you need before you start, how to digitize your work with fidelity, how to choose the right printing method, and how to avoid the most common mistakes that ruin otherwise great reproductions.
Table of Contents
- Key takeaways
- How to make copies of artwork: tools and setup
- Digitizing your artwork accurately
- Preparing files and choosing printing methods
- DIY vs. professional reproduction services
- Common mistakes and how to fix them
- My perspective on art reproduction as creative control
- Explore original art and fine art prints at Emansgallery
- FAQ
- Stay Connected
Key takeaways
| Point | Details |
|---|---|
| Resolution is non-negotiable | Your digital file must be at least 300 DPI at the final print size to avoid blurry output. |
| Scanning vs. photography | Flatbed scanning suits smaller, flat works; photography with proper lighting handles large or textured pieces. |
| Printing method matters | Giclée prints on archival paper deliver the best color accuracy and longevity for fine art copies. |
| DIY has limits | Home printers rarely match the color consistency and archival quality of professional reproduction labs. |
| Proofing prevents waste | Always soft-proof and order a test print before committing to a full production run. |
How to make copies of artwork: tools and setup
Before you touch a scanner or camera, having the right materials in place saves time and prevents costly errors. The table below covers the core equipment across digital and analog workflows.
| Tool or material | Used for | Notes |
|---|---|---|
| Flatbed scanner (A3 or larger) | Digitizing flat, small to medium works | Best for paper, prints, and flat canvases |
| DSLR or mirrorless camera | Photographing large or textured works | RAW format capture recommended |
| Color calibration target (X-Rite ColorChecker) | Accurate color correction in post | Use in every shoot for consistency |
| Gray card | White balance reference | Place in frame, remove in final shot |
| Calibrated monitor | Soft proofing and editing | Set to D65 white point, 100 to 120 cd/m² luminance |
| Giclée or inkjet printer | Producing final copies | Pigment inks only for archival output |
| Archival fine art paper | Print substrate | Cotton rag or alpha-cellulose, acid free |
| Image editing software | Color correction and file prep | Adobe Lightroom, Photoshop, or equivalent |
For digital file standards, 300 DPI is the minimum for professional prints at final output size. Anything below that will appear pixelated when printed, regardless of how good your source artwork looks.
Workspace lighting matters too. Use daylight balanced bulbs at 5000K to 6500K for consistent color rendering when reviewing prints or setting up a photo shoot. Avoid shooting near windows with direct sunlight, which shifts color temperature unpredictably.
Pro Tip: Calibrate your monitor every two to four weeks using a hardware colorimeter. An uncalibrated screen is one of the most common causes of color mismatches between what you see on screen and what prints.
Digitizing your artwork accurately
The digitizing step is where most reproductions fail. Getting this right means choosing between two main approaches: flatbed scanning and camera photography.
Flatbed scanning vs. photography
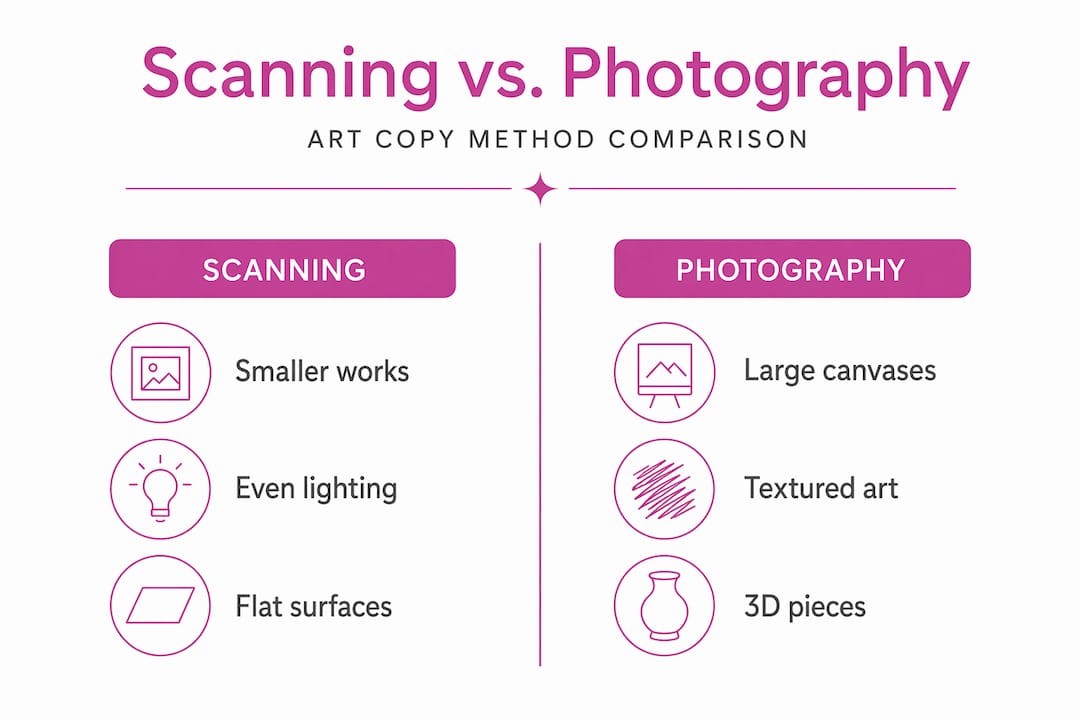
Flatbed scanning works well for artwork that fits the scanner bed, typically A4 or A3. It produces consistent, even lighting with no shadows. Most quality flatbed scanners capture enough detail for prints up to the original artwork size when scanned at 600 DPI or above.
Camera photography is necessary for large canvases, heavy texture, or three-dimensional work. This method requires controlled conditions. Set your camera to RAW format, use a sturdy tripod, and position two lights at 45-degree angles to the artwork. This setup diffuses light evenly and avoids glare on varnished or glossy surfaces.
Handling texture and large works
Textured oil paintings and thick impasto pieces need special handling. Raking light photography involves lighting from a sharp angle to reveal surface texture, while diffuse light captures accurate color. Some artists use both, combining images in post-processing for a file that shows both color and texture faithfully.
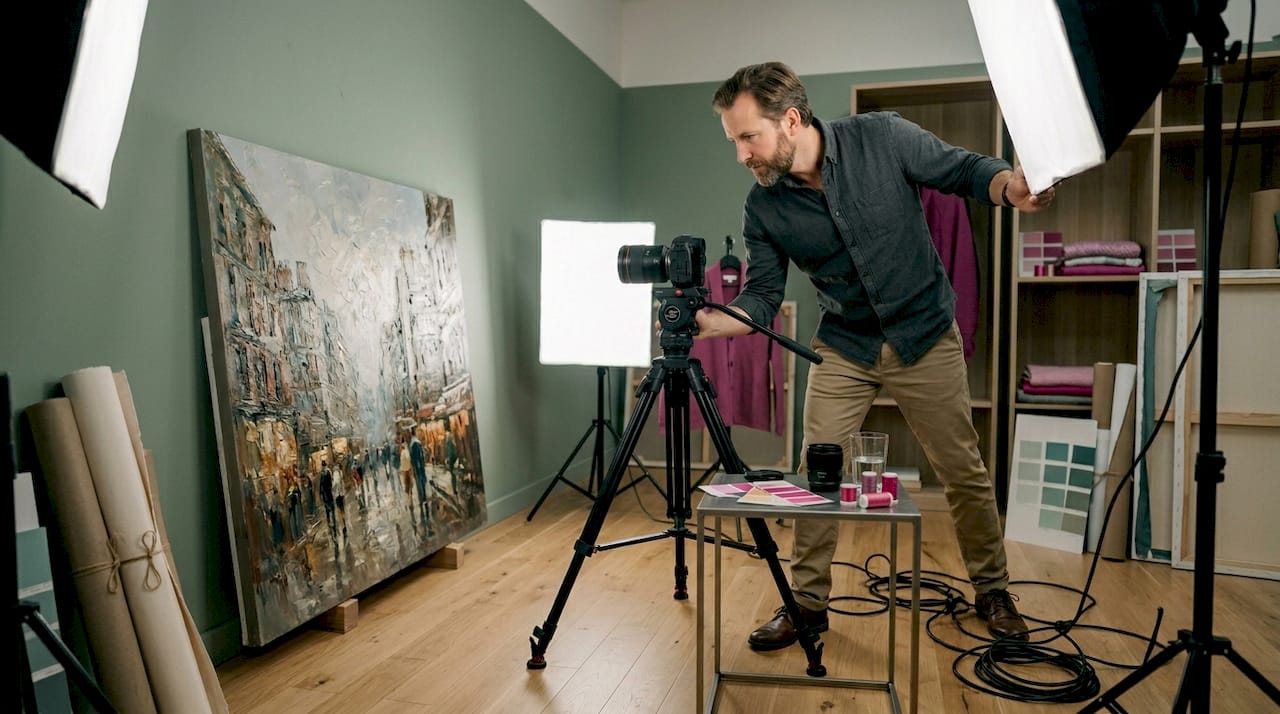
For very large canvases, use multi-shot stitching. Photograph the artwork in overlapping sections and stitch them together in software like Adobe Photoshop or PTGui. Focus stacking preserves brushstroke detail across the full depth of a textured surface, producing a digital master that captures what the eye sees up close.
Follow these steps for a reliable digitizing session:
- Clean the artwork surface gently with a soft brush to remove dust.
- Set up two lights symmetrically at 45 degrees to the artwork surface.
- Place a ColorChecker card and gray card in the frame for the first shot.
- Switch to RAW capture mode and set ISO as low as possible (100 or 200).
- Focus carefully using live view and manual focus for maximum sharpness.
- Shoot the first test frame, check exposure and white balance, adjust if needed.
- Remove the color reference cards and capture the final frames.
- Save all files to two separate locations immediately after the session.
Pro Tip: Shoot tethered to a laptop when possible. Seeing the image on a large, calibrated monitor during the shoot lets you catch focus or exposure issues before you pack up the artwork.
Use descriptive file naming from the start. A format like ArtistName_WorkTitle_Date_Version works well and prevents confusion when you have multiple capture sessions or file variations.
Preparing files and choosing printing methods
Once your digital master is ready, you need to prepare it correctly before printing. Skipping this stage produces color casts and soft detail even from a technically good capture.
File preparation basics
Work in Adobe RGB color space during editing. Convert to the printer’s required profile only at the output stage. Save your master file as a TIFF. JPEG compression introduces artifacts that are invisible on screen but visible in large prints. Use JPEG only for web previews or proofs, never as the print master.
Soft proofing and color calibration are critical steps that prevent unexpected color shifts between screen and paper. In Photoshop, use View > Proof Colors with the paper’s ICC profile loaded to simulate how the print will actually look. Adjust if needed, then save a print-specific version of the file.
Printing methods compared
| Method | Substrate | Longevity | Best for | Cost |
|---|---|---|---|---|
| Giclée on fine art paper | Cotton rag or alpha-cellulose | 100 to 200 years | Gallery prints, open editions | Medium to high |
| Canvas print | Poly-cotton blend | 75 to 100 years | Decorative, wall display | Medium |
| Metal print | Aluminum sheet | 80+ years | High contrast, modern interiors | High |
| Acrylic print | Acrylic face mounted | 60 to 80 years | Vibrant color, contemporary display | High |
| Standard photo print | Resin-coated photo paper | 25 to 50 years | Proofs, casual reproductions | Low |
Archival giclée printing uses pigment-based inks on fine art papers to produce museum-quality results with superior color accuracy and long-term stability. For artists making prints of artwork intended for sale or display, giclée on cotton rag is the industry standard.
Paper selection affects both appearance and durability. Cotton rag papers are preferred for archival purposes because they are acid free and lignin free. Note that paper above 350 gsm may require special handling in some printers to feed correctly.
Pro Tip: Always order one test print at final size before approving a full run. Colors that look perfect on screen can shift on matte fine art papers, particularly in shadow areas. A test print costs a fraction of reprinting an entire edition.
For a detailed breakdown of the full production workflow, the art reproduction process guide at Emansgallery covers color accuracy standards used in professional reproduction.
DIY vs. professional reproduction services
Once your file is ready, you choose between printing at home or sending the file to a professional lab. Both approaches have a place depending on your budget, volume, and quality targets.
When DIY printing makes sense:
- Small print runs of 5 to 10 pieces where per-unit cost is less critical
- Artists who already own quality wide-format pigment printers
- Proofing and testing before committing to professional production
- Works where you want complete control over the output process
When professional services are worth the cost:
- Large format prints above 60 cm on the longest edge
- Editions intended for gallery sale or collector clients
- Situations where color accuracy is non-negotiable
- Projects requiring substrate options your home printer cannot handle
Professional labs offer calibrated workflows with pigment inks and archival substrates, maintaining gallery standards that most home setups cannot match. They also offer proof approval stages and delta E color measurement, where acceptable deviation is deltaE < 3 to maintain color accuracy between your file and the finished print.
When submitting files to a print service, always ask these questions before placing an order:
- What color profiles do you use, and which should I submit in?
- Do you offer a hard proof before printing the full edition?
- What is your ink and substrate archival rating?
- How do you handle color matching to a physical original if provided?
Pro Tip: Ship or bring a physical proof of your original artwork to a professional lab for the first order. Seeing your original next to the test print under consistent lighting is the fastest way to identify any remaining color shifts.
If you plan to sell prints of your artwork, the guide to getting prints made at Emansgallery covers how to evaluate and brief print providers effectively.
Common mistakes and how to fix them
Even artists who follow the right process run into issues. These are the most common problems and their fixes.
- Low resolution captures: Scanning at 72 DPI or shooting in JPEG at low quality produces files that print poorly. Always capture at 600 DPI for scanning or shoot RAW at the camera’s full resolution.
- Wrong color profile: Submitting an Adobe RGB file to a lab that expects sRGB shifts greens and blues. Confirm the lab’s color space requirement before exporting.
- Compression artifacts: Saving multiple times as JPEG degrades file quality. Keep your master as a TIFF and convert to JPEG only once for web or proof use.
- Glare on varnished surfaces: Cross-polarized lighting eliminates glare from glossy or varnished paintings. Use polarizing filters on both lights and on the camera lens.
- Skipping the proof stage: Approving a full edition without a physical proof is the most expensive mistake. One test print catches color, sharpness, and paper issues before they multiply.
Pro Tip: Build a pre-print checklist. Verify resolution, color profile, file format, and bleed settings before submitting any file to a printer. A two-minute check prevents hours of reprinting.
After printing, proper storage extends the life of your reproductions. The guide on storing art prints safely at Emansgallery outlines the best practices for keeping prints in gallery condition over time.
My perspective on art reproduction as creative control
I’ve worked across enough reproduction projects to say clearly: mastering how to duplicate artwork is one of the most career-expanding things an artist can do. Not because it replaces originals. Because it multiplies the reach of work that otherwise sits unseen.
Digital reproduction technology has genuinely freed art from location. A painting hanging in my studio can become a canvas print in someone’s home in Amsterdam and a tote bag purchased in Toronto, all from one well-captured digital master. That’s not a compromise. It’s an extension of the original work.
What I’ve found surprising is how much the reproduction process teaches you about your own art. When you photograph a painting and study it pixel by pixel on a calibrated screen, you see things you missed while painting. Color relationships, value transitions, areas of the composition that work better than you realized. It is a form of deep looking that most artists skip.
The balance between original and reproduction does matter. I keep originals distinct, either through certificates of authenticity, different sizing, or unique framing. Mechanical reproduction expands commercial opportunities while preserving the integrity of the original. Those are not opposing goals. They reinforce each other when handled with intention.
— Eman
Explore original art and fine art prints at Emansgallery
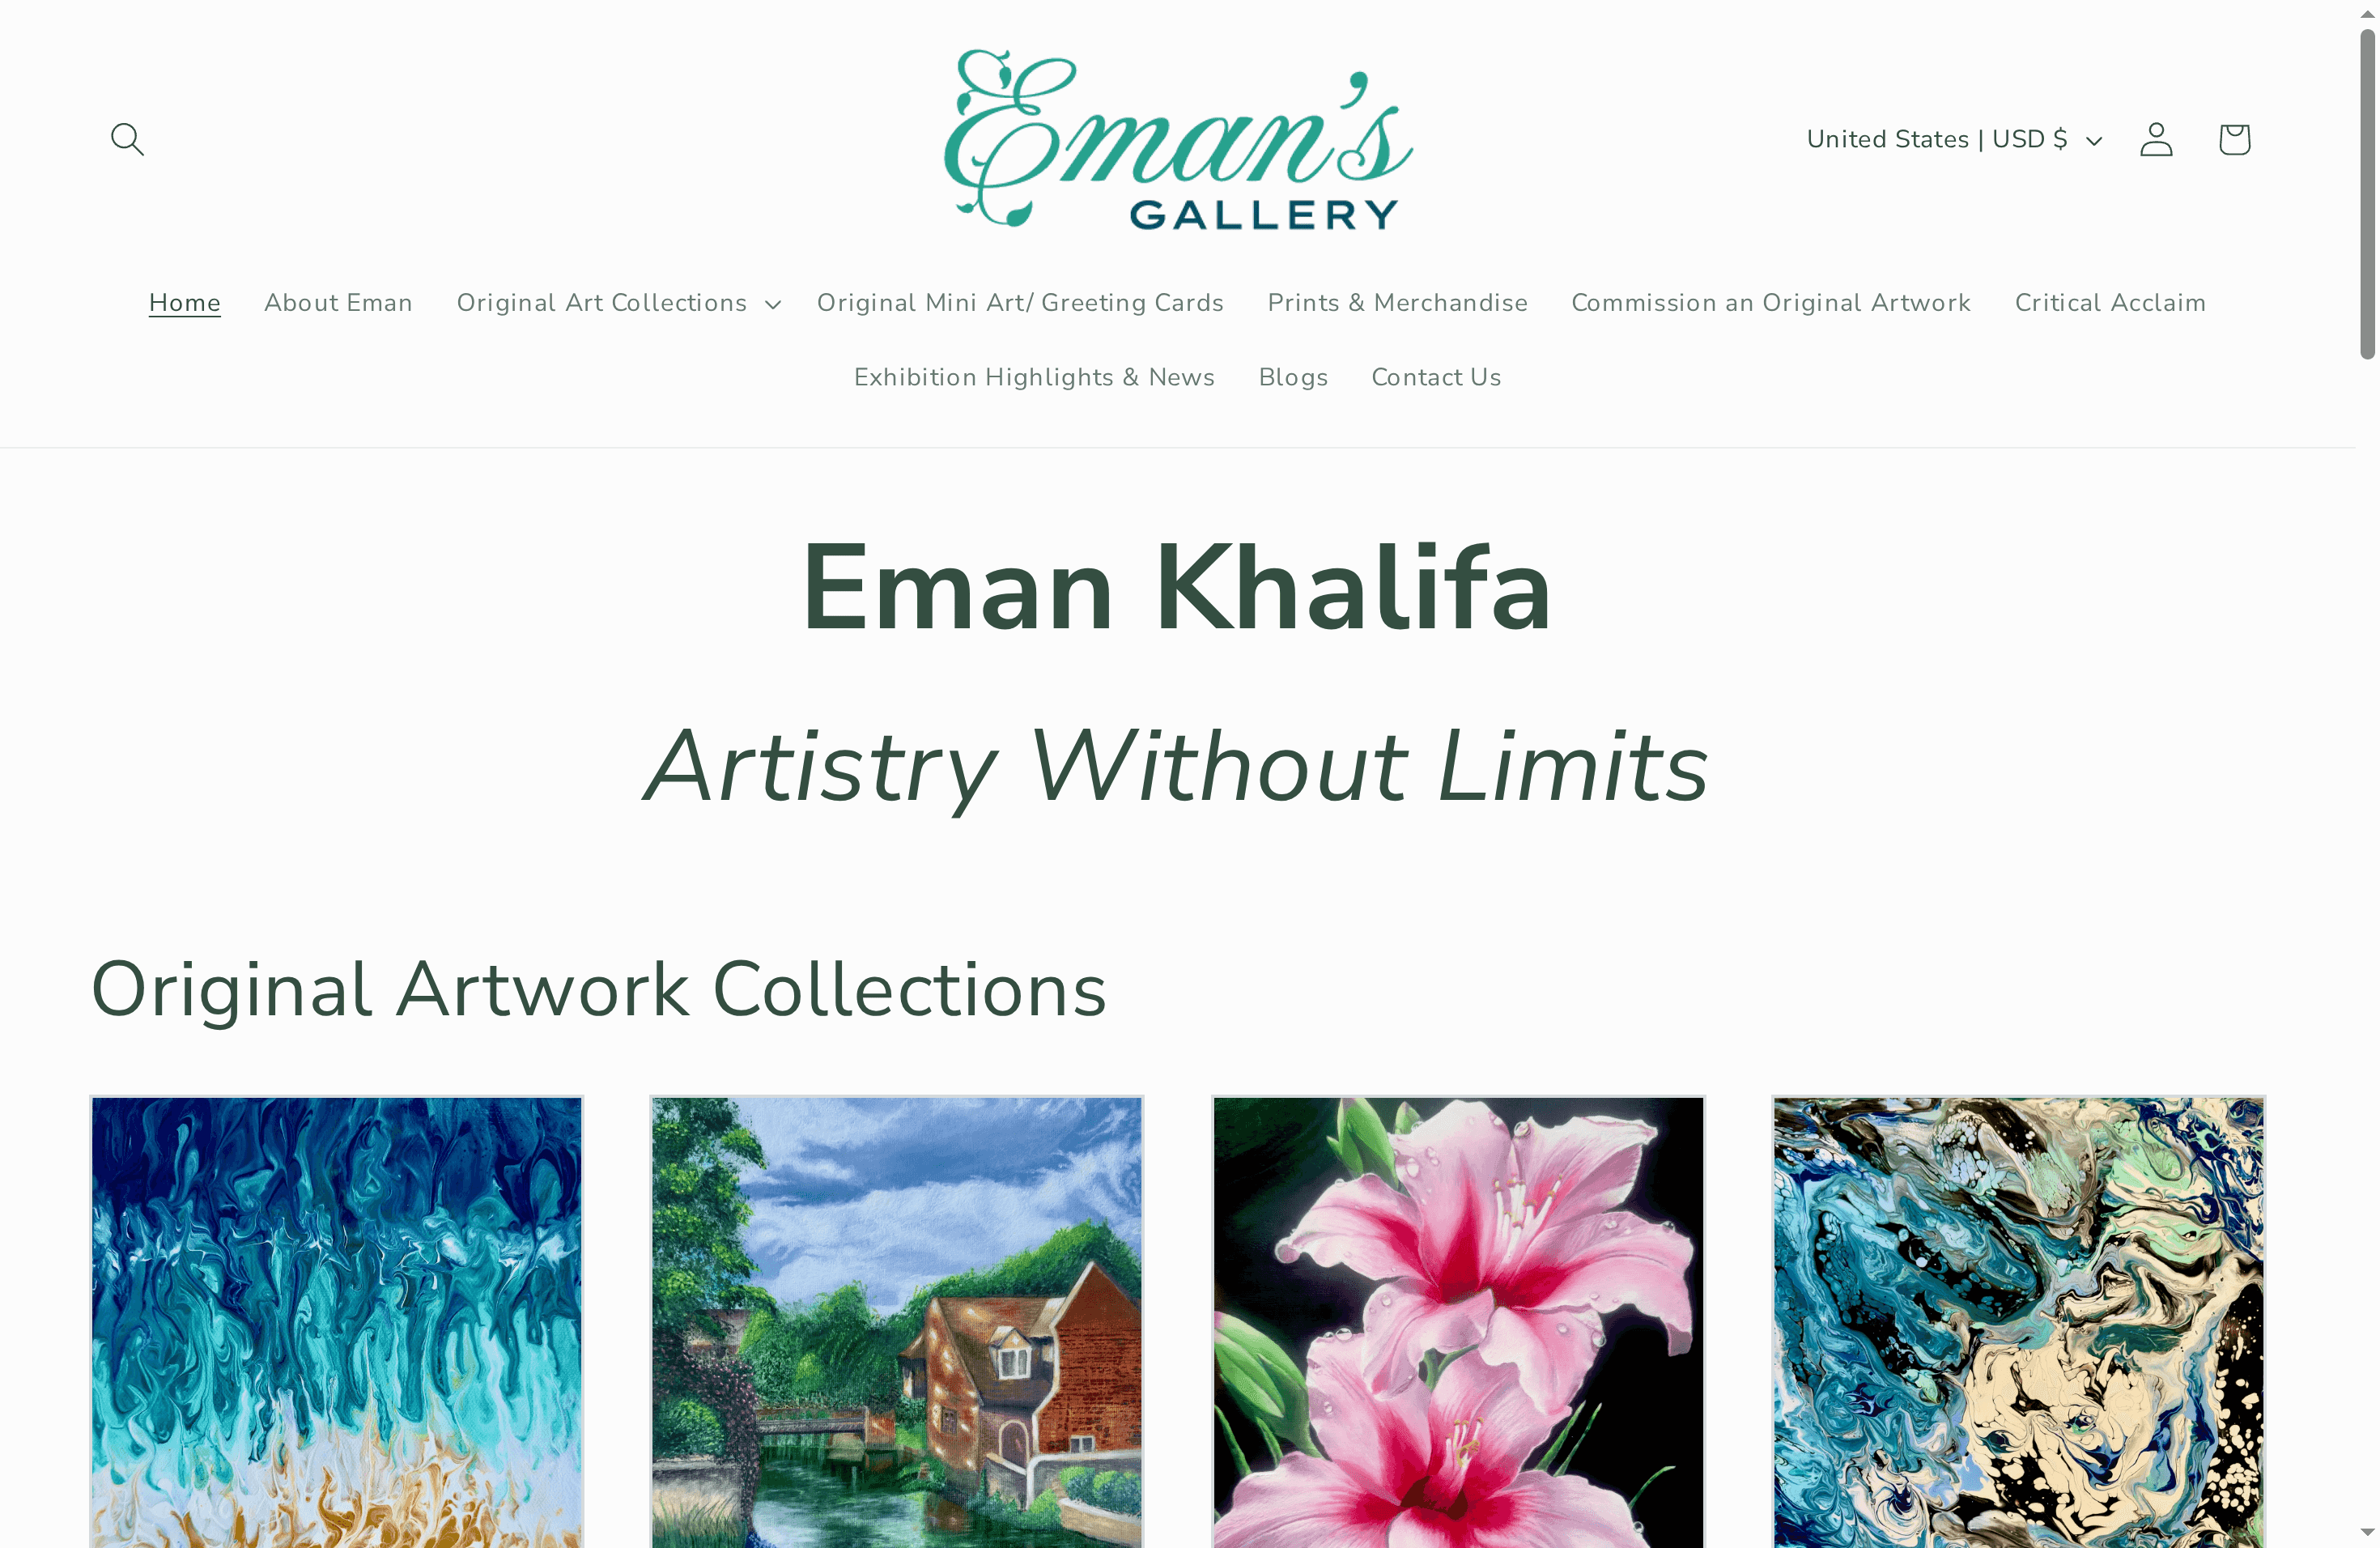
If this process has you thinking about the quality standard to aim for, seeing finished reproductions alongside originals helps calibrate that standard quickly. At Emansgallery, original handmade paintings and museum-quality canvas prints are available side by side, so you can see exactly what faithful reproduction looks like at a professional level. The Good Tidings original painting is a clear example of the depth and color range a quality digital capture must preserve. For those interested in canvas output, browse the wall art prints collection to see giclée-standard reproductions printed on fine art substrates. Emansgallery ships worldwide, including to the UK, USA, Germany, Australia, UAE, and beyond.
FAQ
What resolution do I need to make copies of artwork?
Your digital file needs a minimum of 300 DPI at final print size for professional output. For large prints or artwork with fine detail, 600 DPI or higher at capture is recommended.
What is the best printing method for art copies?
Giclée printing on archival cotton rag paper is the industry standard for fine art reproduction. It uses pigment inks and produces museum-quality prints with color stability rated up to 200 years.
Should I use a scanner or camera to copy my artwork?
Use a flatbed scanner for flat works that fit the scan bed. Use a camera with controlled lighting for large canvases, textured surfaces, or three-dimensional work where capturing surface relief matters.
How do I avoid color mismatches between screen and print?
Calibrate your monitor to D65 white point and 100 to 120 cd/m² luminance, work in Adobe RGB, and use soft proofing with the paper’s ICC profile before sending files to print.
Can I sell copies of my own artwork legally?
Yes. As the original artist, you hold the copyright and can reproduce and sell copies of your own work in any quantity or format you choose, provided the work does not incorporate third-party copyrighted elements.
Stay Connected
-
✨ Explore Eman Khalifa's original art, fine art prints & art merchandise
-
📸 Follow Eman Khalifa's art journey on: Instagram @emans_gallery and Facebook Eman's Gallery
-
📹 Watch Eman Khalifa creating live art on: YouTube @emans_gallery
-
Supported by BabyLoveGrowth
