

How to hang wall art perfectly: expert tips for 2026
How to hang wall art perfectly: expert tips for 2026
Hanging wall art seems simple until you face uneven spacing, damaged walls, or pieces that fall overnight. Many homeowners struggle with placement decisions, causing frustration and costly repairs. This guide walks you through professional techniques for measuring, selecting hardware, and securing artwork safely. You’ll learn to avoid common mistakes and achieve gallery-quality results that enhance your space beautifully.
Table of Contents
- Introduction To Hanging Wall Art
- Prerequisites And Tools Needed
- Step-By-Step Guide To Hanging Wall Art
- Handling Heavy Or Large-Scale Art Safely
- Common Mistakes And How To Fix Them
- Alternative Hanging Methods And Their Tradeoffs
- Expected Results And Maintenance Tips
- Explore Original And Canvas Wall Art At Eman’s Gallery
- Frequently Asked Questions
Key takeaways
| Point | Details |
|---|---|
| Optimal height | Hang art with its center at 57 to 60 inches from the floor for comfortable viewing. |
| Hardware selection | Choose anchors based on wall material and artwork weight to prevent damage and falls. |
| Installation precision | Use a level and stud finder to ensure stable, straight mounting every time. |
| Common errors | Poor alignment, wrong anchors, and skipping wall prep cause most hanging failures. |
| Safety focus | Proper installation protects your investment and creates lasting visual impact. |
Introduction to hanging wall art
Wall art transforms rooms from bare to beautiful, but only when hung correctly. Proper placement balances visual weight across your space while keeping artwork secure. 60% of people who hang wall art end up rehanging due to mistakes, wasting time and creating unnecessary wall damage. The challenge stems from multiple variables: measuring accurate heights, selecting appropriate hardware, and working with different wall types.
Understanding these fundamentals prevents common pitfalls. You need to know:
- How to measure and mark precise hanging points
- Which tools work best for your specific wall surface
- What hardware supports different artwork weights safely
- When professional help becomes necessary for valuable pieces
- How to check and maintain installations over time
This article provides step-by-step instructions covering tools, measurement techniques, hardware selection, and troubleshooting. You’ll gain confidence to tackle any hanging project, from lightweight prints to heavy oil paintings. The right approach saves your walls, protects your art, and delivers professional results without paying gallery installation fees.
Prerequisites and tools needed
Gathering proper tools before starting saves frustration and prevents damage. Your basic toolkit should include a measuring tape, carpenter’s level, stud finder, pencil, hammer or screwdriver, and appropriate wall anchors. Correct tool use prevents damage and ensures stable installation, eliminating guesswork from the process.
Wall condition matters significantly. Check surfaces for cleanliness, moisture, and structural integrity before drilling. Drywall requires different anchors than plaster or brick. Clean walls with a damp cloth and let them dry completely, ensuring anchors grip properly.
Essential tool checklist
| Tool | Purpose | When to use |
|---|---|---|
| Measuring tape | Mark precise heights and spacing | Every installation |
| Carpenter’s level | Ensure straight alignment | After marking, before drilling |
| Stud finder | Locate wall studs for heavy pieces | Art over 20 pounds |
| Pencil | Mark drilling points lightly | All placements |
| Anchors/screws | Secure artwork to wall | Match to weight and wall type |
| Hammer/drill | Install hardware | Based on anchor type |
Hardware selection depends on three factors: artwork weight, wall material, and hanging duration. Lightweight pieces under 10 pounds work with basic plastic anchors in drywall. Medium weight art (10 to 20 pounds) needs stronger toggle bolts or molly bolts. Heavy pieces over 20 pounds require mounting directly into wall studs or heavy-duty anchors rated for the specific load.
Know your wall type before purchasing hardware. Drywall accepts most anchor styles but offers less holding power than solid materials. Plaster walls need specialized anchors that won’t crumble the surface. Brick and concrete require masonry bits and anchors. When uncertain about your wall composition or artwork value, consult painting hanging tools and prep guides or consider professional installation.
Pro Tip: Keep a small container of various anchor types and screws in your toolkit. Having options on hand prevents mid-project trips to the hardware store and lets you adjust plans if wall conditions differ from expectations.
Step-by-step guide to hanging wall art
Systematic approach eliminates guesswork and delivers consistent results. Follow these steps for professional placement every time.
-
Measure your wall space. Note the width and height of the area where you’ll hang art. Consider furniture placement and surrounding decor. Mark the wall’s center point lightly with pencil.
-
Calculate hanging height. Optimal hanging height is roughly 57 to 60 inches from floor to art center, matching average eye level. Measure up from the floor and mark this point. For art above furniture, leave 6 to 8 inches between the furniture top and artwork bottom.
-
Mark fixture points accurately. Measure from the top of your artwork to its hanging hardware. Subtract this distance from your center mark to find where the nail or hook goes. Use a level to ensure your mark sits perfectly horizontal, especially for multi-point hanging systems.
-
Select appropriate hardware. Check your artwork’s weight (usually listed on the back or packaging). Match anchor type to this weight and your wall material. Read manufacturer specifications carefully, as anchor ratings vary significantly. Reference your gallery wall checklist modern homes for coordinating multiple pieces.
-
Install anchors carefully. Drill pilot holes at marked points, keeping your drill perpendicular to the wall. Insert anchors gently but firmly until flush with the wall surface. Avoid over-tightening, which can strip drywall or crack plaster.
-
Hang and check alignment. Place artwork on installed hardware, then step back to assess from multiple angles. Use your level against the frame’s top edge to verify it hangs straight. Make micro-adjustments by gently lifting and repositioning. For canvas art specifically, review measurement tips for framing canvas art to avoid common sizing errors.
Pro Tip: Take a photo with your phone after marking but before drilling. If something looks off in the image, you catch it before creating permanent holes. The camera perspective often reveals spacing issues your eye misses up close.
Handling heavy or large-scale art safely
Large artwork demands extra precautions to prevent accidents and wall damage. Art exceeding 20 pounds needs special consideration for both installation and long-term stability. Heavy art requires stud anchors or professional installation to ensure safety, protecting your investment and your walls.

Stud mounting provides maximum security. Use a quality stud finder to locate wooden support beams behind your drywall, typically spaced 16 or 24 inches apart. Mark stud locations clearly. When studs don’t align with your desired placement, use heavy-duty toggle bolts rated for your artwork’s weight.
Safety measures for heavy pieces
- Always lift large art with a partner to prevent dropping and back injury
- Install at least two mounting points for pieces over 30 pounds
- Consider professional picture hanging services for irreplaceable originals
- Test hardware strength by pulling down firmly before hanging valuable art
- Use felt pads or bumpers on bottom corners to protect walls from frame contact
Weight distribution matters significantly. Some frames concentrate weight on small hanging wires, while others spread load across multiple D-rings. Examine your hanging system before choosing hardware. Replace weak wires or inadequate hanging mechanisms before installation.
“The cost of professional installation is nothing compared to repairing a damaged original painting or cracked wall. Heavy art deserves expert handling.”
For extremely large pieces like statement abstract paintings or oversized mirrors, hire professionals who carry insurance and use commercial-grade mounting systems. They bring specialized equipment including laser levels and heavy-duty anchors designed for gallery installations. Your time and peace of mind justify the expense, especially for artwork exceeding $500 in value.
Common mistakes and how to fix them
DIY hanging errors waste time and damage walls unnecessarily. Understanding frequent problems helps you avoid them entirely. 40% of installations fail due to poor hardware choice; 30% due to misalignment, making these the primary issues to address.
Height mistakes top the list. Hanging art too high makes rooms feel disconnected, while too-low placement crowds furniture. Always measure to place the art center at 57 to 60 inches from the floor. In rooms with tall ceilings, you may adjust slightly higher, but maintain visual connection to eye level.
Wrong anchor selection causes most hardware failures. Plastic anchors rated for 10 pounds will fail under 15-pound artwork, no matter how carefully installed. Match your anchor’s weight rating to your art’s actual weight plus a 50% safety margin. Inspect wall damage inspection tips if you notice cracks forming around mounting points.
Error comparison and solutions
| Mistake | Consequence | Fix |
|---|---|---|
| Skipping wall prep | Anchors fail to grip properly | Clean and dry surface before drilling |
| No level check | Crooked appearance | Use level tool at marking and hanging stages |
| Wrong anchor type | Art falls, wall damage | Match anchor to weight and wall material |
| Measuring from frame edge | Incorrect center placement | Always measure to art center point |
| Single point heavy art | Tilting, potential fall | Use two mounting points minimum |
Alignment problems frustrate even experienced DIYers. Eyeballing straightness never works. Your level should touch the frame at multiple stages: when marking, immediately after hanging, and in final verification. For multiple pieces, check both individual alignment and overall grid straightness.
Skipping preparation steps invites problems. Rushing into drilling without checking for hidden wires or pipes risks dangerous situations. Use a stud finder with wire detection, or call a professional if you’re uncertain about what’s behind your walls. Consult guides on cosmetic vs structural wall cracks before drilling near existing damage. Review canvas framing mistakes and fixes for artwork-specific errors.
Alternative hanging methods and their tradeoffs
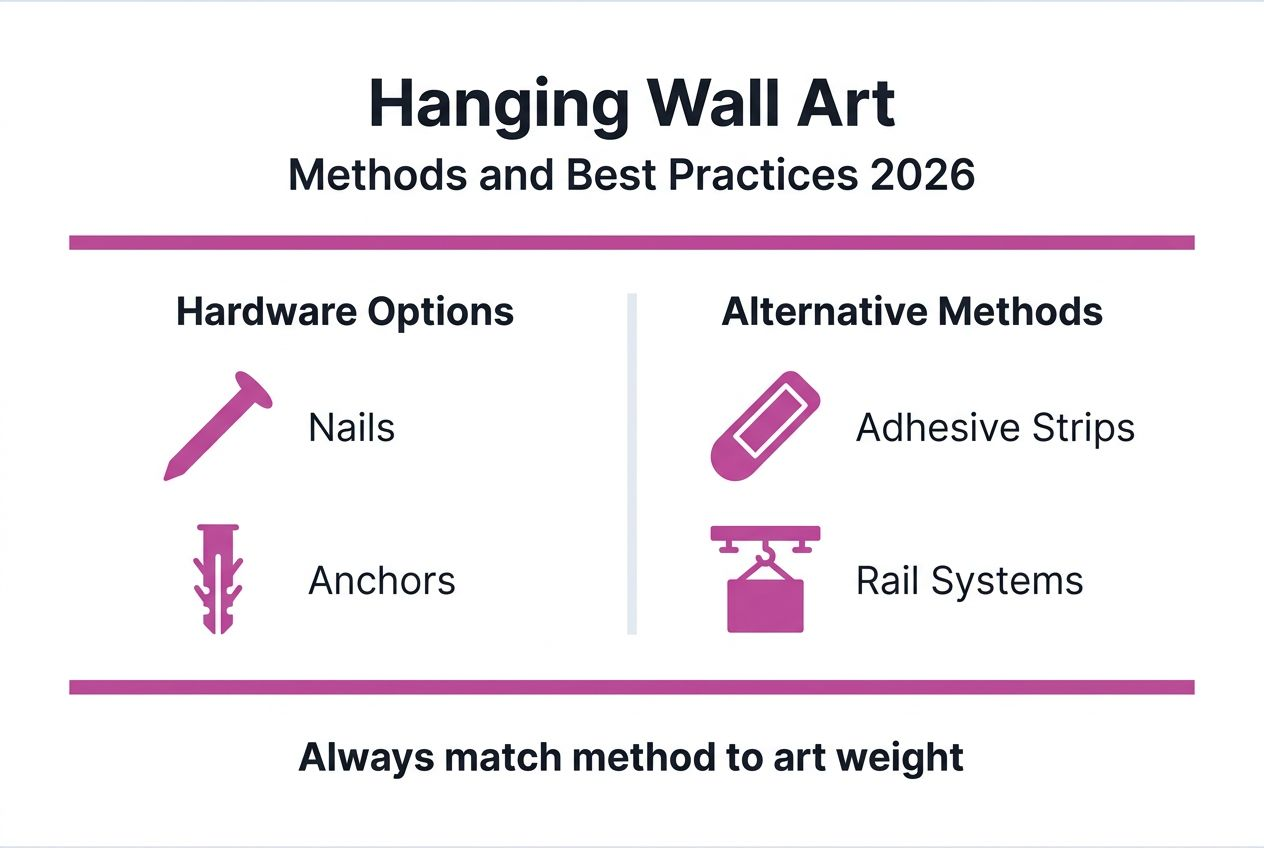
Traditional nails aren’t your only option. Modern hanging solutions offer flexibility, especially for renters or temporary displays. Each method brings distinct advantages and limitations worth understanding.
Adhesive strips provide damage-free hanging for lightweight art. Adhesive strips hold light art under 5 pounds with minimal wall damage but are less durable than permanent hardware. They work best on smooth, painted surfaces and fail on textured walls or wallpaper. Remove them carefully following manufacturer instructions to avoid paint removal.
Hanging method comparison
| Method | Weight limit | Wall damage | Best for | Limitations |
|---|---|---|---|---|
| Adhesive strips | Up to 5 lbs | Minimal | Renters, temporary | Not for textured walls |
| Picture rails | Unlimited | Installation holes only | Gallery walls, flexibility | Requires initial installation |
| Traditional anchors | Varies by type | Small holes | Permanent display | Difficult to reposition |
| Magnetic systems | Light to medium | Installation holes | Modern decor | Requires metal backing |
Picture rails and hanging systems mount once at ceiling level, letting you suspend art on adjustable cables or chains. You gain incredible flexibility to rearrange without new holes. However, the visible cables create a distinct aesthetic that doesn’t suit every decor style. Installation requires precise measurement and sturdy mounting into ceiling studs.
Hanging hooks come in various styles:
- Monkey hooks for drywall: no tools needed, holds medium weight
- French cleats for large pieces: extremely secure, professional appearance
- Wire and D-ring systems: traditional gallery approach, requires calculation
- Sawtooth hangers: lightweight frames only, simple installation
Temporary mounting suits short-term displays like seasonal decor or rotating collections. However, these methods rarely match the security and longevity of properly installed anchors and screws. For valuable artwork or permanent installations, invest time in traditional mounting. The stability and professional appearance justify the slightly higher effort and minor wall marking. When you need to change arrangements later, fill old holes with spackling compound, sand smooth, and touch up paint before creating new mounting points.
Expected results and maintenance tips
Successful installation delivers immediate visual impact and lasting security. Your artwork should appear centered at 57 to 60 inches, hanging perfectly level without tilting. Step back 10 feet to assess the overall effect. The piece should feel naturally integrated with surrounding furniture and decor, neither floating too high nor crowding other elements.
Stability indicates proper installation. Gently press the bottom corners of your frame. It should resist movement without bouncing or sliding. If hardware feels loose immediately after installation, you’ve likely used inadequate anchors for the weight. Remove the piece and upgrade to stronger mounting systems before the artwork falls.
Ongoing maintenance preserves your installation. Check these elements quarterly:
- Anchor tightness: screws can loosen over time from vibration or settling
- Wire condition: hanging wires fray and weaken with age
- Frame stability: wood frames expand and contract with humidity changes
- Wall condition: cracks near mounting points signal overload
- Level alignment: buildings settle gradually, affecting previously straight art
Checking mounts periodically prevents falls and wall damage, especially in high-traffic areas where vibration affects hardware over time. Tighten loose screws promptly and replace worn hanging wire before it fails. Refer to gallery wall maintenance tips for coordinated displays.
Repositioning artwork leaves holes requiring repair. Fill small nail holes with spackling compound using a putty knife. Let dry completely, then sand smooth with fine-grit sandpaper. Touch up with matching wall paint using a small artist’s brush for invisible repairs. Larger anchor holes need patching with mesh tape and joint compound applied in thin layers.
Save extra hardware and anchors in a labeled envelope taped to your artwork’s backing paper. Future adjustments or moves become simpler when you have matching components ready. This small organizational step saves trips to the hardware store and ensures you can rehang quickly if needed.
Explore original and canvas wall art at Eman’s Gallery
Now that you’ve mastered the techniques for hanging artwork beautifully and securely, why not find the perfect piece to showcase your new skills? Discover stunning original paintings that transform any room into a sophisticated space. Browse the warm embrace original artwork for statement pieces that command attention.

The canvas art prints unframed collection offers museum-quality reproductions ready for your custom framing preferences. Each piece ships carefully packaged to arrive in pristine condition, ready for your expert installation. Explore the contemporary realism original art collection featuring one-of-a-kind works that bring lasting value to your home. Every painting represents artist Eman Khalifa’s dedication to creating original, handcrafted beauty you’ll treasure for years.
Frequently asked questions
How high should I hang wall art for optimal viewing?
Center your wall art at 57 to 60 inches from the floor, which aligns with average eye level in most rooms. This height creates comfortable viewing whether you’re standing or seated. Adjust slightly higher in rooms with tall ceilings or when hanging above furniture like sofas.
What type of wall anchors do I need for heavy paintings?
Heavy artwork over 20 pounds requires toggle bolts or direct mounting into wall studs for secure installation. Plastic expansion anchors work only for lightweight pieces under 10 pounds in drywall. Always match your anchor’s weight rating to your artwork’s actual weight plus a 50% safety margin.
Can I use adhesive strips instead of nails or screws?
Adhesive strips work well for lightweight art under 5 pounds on smooth, painted walls, offering damage-free hanging ideal for rentals. They provide insufficient holding power for heavier pieces or textured surfaces. Remove them slowly following package directions to prevent paint removal when you’re ready to reposition.
How do I hang multiple pieces in a gallery wall arrangement?
Start by arranging pieces on the floor to finalize your layout before marking walls. Maintain 2 to 3 inches of consistent spacing between frames for visual cohesion. Mark all mounting points at once using your level, then install hardware systematically from the center outward.
What should I do if my wall anchor keeps spinning?
A spinning anchor indicates the hole is too large or the anchor type doesn’t match your wall material. Remove the failed anchor, fill the hole with spackling compound, and let it dry completely. Drill a new hole in a slightly different location using the correct anchor type rated for your wall and artwork weight.
Recommended
- How to hang paintings for a luxury interior in 2026
- 8 Steps to a Perfect Gallery Wall Checklist for Modern Homes
- Why Gallery Walls Stay Popular: 65% Embrace Personal Style
- Expert Guide to Framing Prints for Luxury Home Decor
Stay Connected
- ✨ Explore Eman Khalifa’s original art and fine art prints
- 📸 Follow Eman Khalifa’s art journey on: Instagram @emans_gallery and Facebook Eman’s Gallery
- 📹 Watch Eman Khalifa creating live art on: YouTube @emans_gallery