


How to Design a Gallery Wall: A DIY Guide
TL;DR:
- Planning and using templates are essential to creating an intentional gallery wall.
- Consistency in framing, spacing, and layout enhances cohesion while incorporating variety adds visual interest.
A blank wall is an opportunity. But knowing how to design a gallery wall that looks intentional rather than chaotic is where most people get stuck. You pick a few frames, hold them up, and suddenly nothing looks right. The spacing feels off. The sizes clash. The whole thing seems random. This guide walks you through every stage: selecting your materials, planning your layout, hanging your pieces correctly, and styling the finished wall so it looks like something you planned from the start.
Table of Contents
- Key takeaways
- How to design a gallery wall: tools and materials
- Planning your gallery wall layout
- Hanging your gallery wall step by step
- Styling and personalizing your gallery wall
- What I have learned from building gallery walls
- Original art that belongs on your gallery wall
- FAQ
- Stay Connected
Key takeaways
| Point | Details |
|---|---|
| Plan before you hang | Map the full layout on the floor or with paper templates before drilling a single nail. |
| Follow the 57-inch rule | Place the visual center of your arrangement at 57 inches from the floor for comfortable viewing. |
| Size to your furniture | A gallery wall should span about two-thirds the width of the furniture beneath it. |
| Use consistent spacing | Keep 2 to 3 inches between frames to maintain cohesion without crowding. |
| Unify with one common thread | Matching frame finish, color palette, or subject matter holds a mixed collection together visually. |
How to design a gallery wall: tools and materials
Before you touch a single nail, gather everything you need. Running back and forth to the hardware store mid-project breaks your momentum and invites mistakes.
Core tools:
- Measuring tape and a pencil
- A level (a small torpedo level works well for most frames)
- Painter’s tape or kraft paper for templates
- A hammer and assorted picture hooks
- Drywall anchors and screws for heavier pieces
Frame and hanging options:
| Hanging method | Best for | Wall damage |
|---|---|---|
| Standard picture hook | Frames under 10 lbs | Minimal |
| Drywall anchor | Frames 10 to 20 lbs | Low |
| French cleat | Heavy frames over 20 lbs | Moderate |
| Adhesive strips | Lightweight renter use | None |
| Picture rail system | Flexible renter setups | None |
For renters, picture rail moulding is one of the most practical solutions available. You install primed rails using adhesive strips, then slide hooks along the rail to position frames freely. No holes, no commitment, and you can rearrange the whole thing on a Sunday afternoon.
When it comes to frames, cohesive frame finishes and coordinated mat styles do more to unify a diverse collection than almost any other single decision. You do not need to match every frame exactly. Mixing black with dark walnut or white with natural wood reads as intentional. Mixing brass, chrome, gold, and black in the same arrangement rarely does.
Pro Tip: Buy one extra frame in each size you plan to use. It gives you flexibility during layout and serves as a replacement if something breaks.
Planning your gallery wall layout
This is where most DIY gallery walls succeed or fail. Thoughtful planning at this stage saves you from unnecessary holes in your wall and hours of frustration.
Choosing the right wall and measuring your space
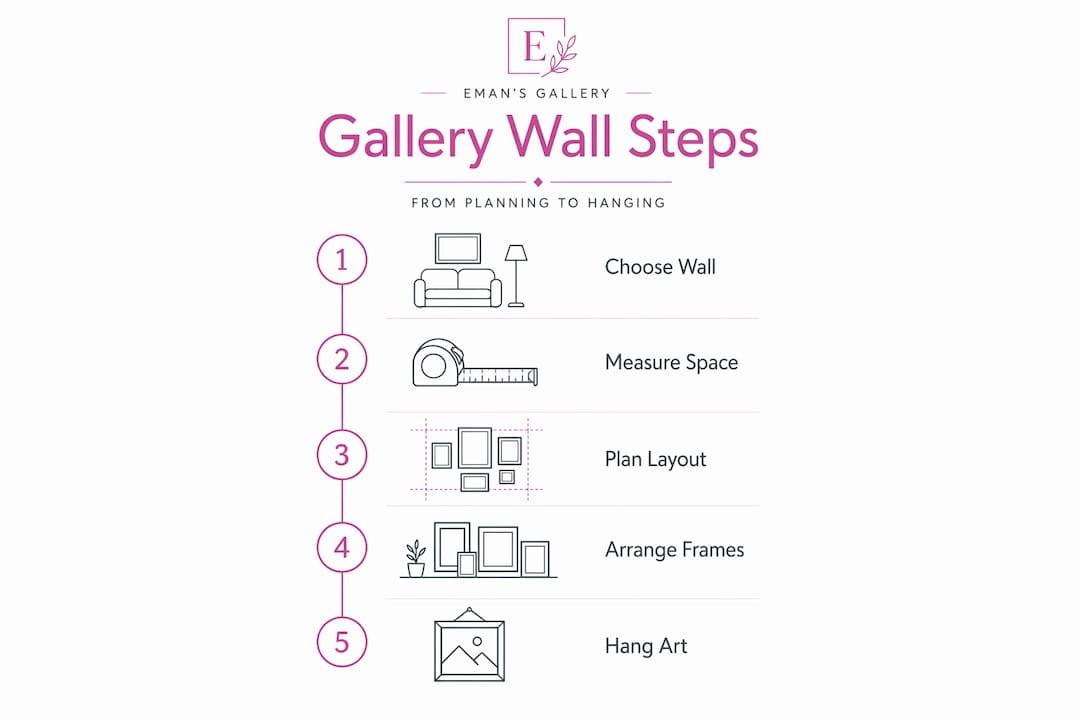
Start by identifying a wall that gets reasonable light and sits at a natural sightline. Above a sofa, along a staircase, or behind a console table are all proven locations. Measure the full width of the wall or the furniture below it. Your gallery wall should cover roughly two-thirds that width to look anchored rather than floating.
Write down your measurements. Know your usable space before you start pulling frames off shelves.
The 57-inch eye-level rule
The 57-inch rule places the vertical center of your entire arrangement at 57 inches from the floor. This aligns with average adult eye level and is the same standard used in most professional galleries. For rooms with ceilings over 9 feet, you can push that center point up to 60 or 62 inches.
This rule applies to the collection as a whole, not to each individual piece. Determine the visual center of your full arrangement first, then position that point at 57 inches on the wall.
Gallery wall layout styles
Grid layout: All frames are the same size, hung in neat rows and columns. Works best with photography collections or black-and-white prints. Easy to execute and looks clean in modern or minimalist rooms.
Organic cluster (salon style): Frames of varied sizes and orientations grouped loosely together. This is the most forgiving layout for mixed collections. The key is keeping the overall silhouette of the grouping roughly rectangular or square.
Row-based layout: Two or three horizontal rows of frames aligned by their top or bottom edges. Suits narrow walls or spaces above long furniture like a console or headboard.
Using paper templates
Cut kraft paper or newspaper to match each frame’s exact dimensions. Tape these to the wall with painter’s tape to visualize the full arrangement before committing. Mapping the layout this way lets you identify awkward gaps, poor proportions, or imbalance before you pick up a hammer.
- Trace each frame onto paper and cut it out.
- Label each template with the frame name or number.
- Arrange templates on the floor first, then transfer to the wall.
- Stand back from 10 to 15 feet and assess the arrangement as a whole.
- Adjust until the grouping feels visually balanced, then mark your nail positions through the paper.
Pro Tip: Keep 2 to 3 inches between frames as a default. Use 2 inches for uniform grid layouts and 3 inches for mixed salon-style arrangements. Going below 2 inches feels crowded; going above 3 inches can make the collection look like separate pieces rather than a unified display.
Hanging your gallery wall step by step
Planning is done. Now comes the physical work. Follow these steps in order and the result will be level, secure, and worth the effort.
-
Start with your anchor piece. This is usually the largest or most visually dominant frame. Position it first at or near the center of your intended arrangement. Everything else will be organized around it.
-
Transfer nail positions from your paper templates. With templates still taped to the wall, press a nail or pencil through each marked hanging point. Remove the paper and you have your exact placement.
-
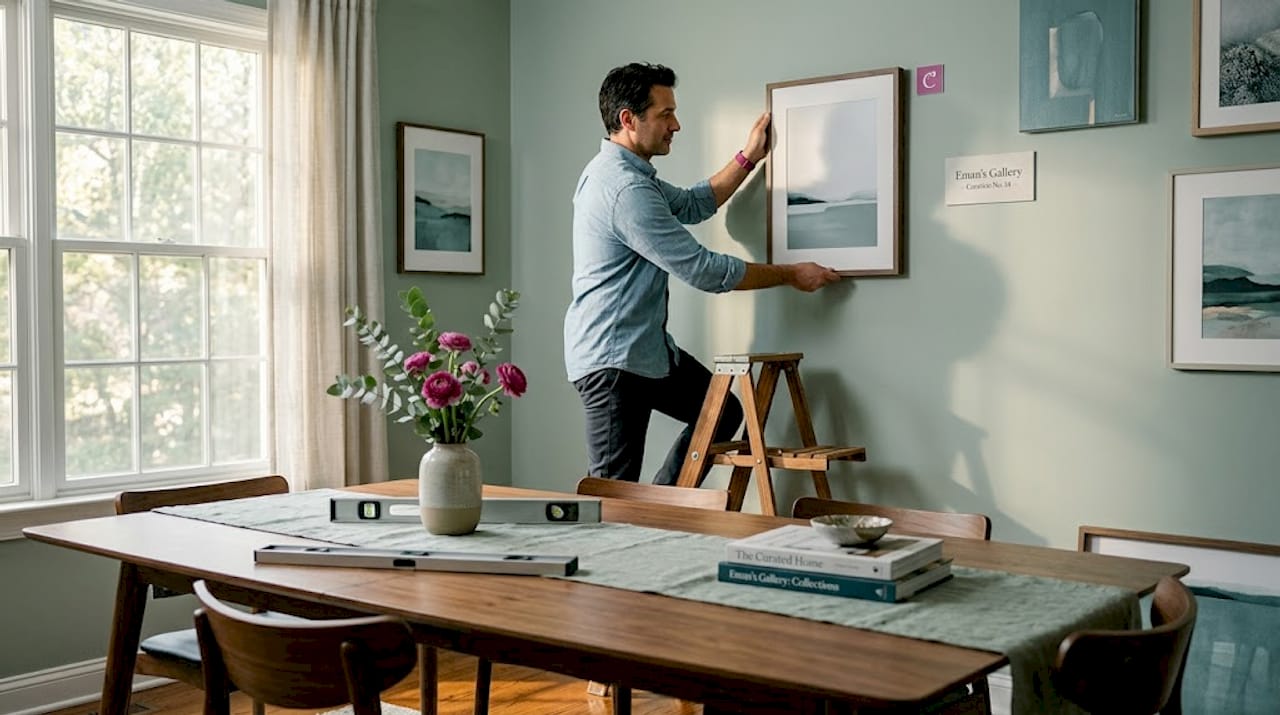
Check level on every frame. Use a level across the top edge before fully seating the nail. A frame that looks straight by eye is often 2 to 3 degrees off.
-
Hang heavier pieces with the right hardware. Frames over 20 pounds require toggle bolts or a French cleat system. Standard picture hooks are not rated for that load and can pull out of drywall unexpectedly.
-
Work outward from the center. Once your anchor piece is up, hang adjacent frames one at a time. Keep your templates on the wall as reference until you are confident about spacing.
-
Add bumper pads to every frame back. Small rubber or felt bumper pads on the bottom corners of each frame do two things. They protect your wall from scuffs and they prevent frames from tilting over time. This step takes five minutes and saves you from constant straightening.
-
Step back and assess before calling it done. Look at the full arrangement from across the room. Check that no single piece draws your eye away from the group. If one frame feels disconnected, adjust its position before the day is over.
For renters, the picture rail system is worth the upfront setup time. You get a fully rearrangeable gallery wall with zero wall damage. Adhesive hanging strips work for lighter frames, but check weight limits carefully. Most strips are rated for 4 to 8 pounds per pair, and that limit drops on textured or painted walls.
When hanging art above furniture, keep the bottom edge of the lowest frame 6 to 8 inches above the furniture top. Less than 6 inches and the art looks like it is sitting on the furniture. More than 8 inches and it starts to float.
Pro Tip: Take a photo of your paper template arrangement before removing the templates. You can reference it while hanging to confirm positions without constantly re-measuring.
Styling and personalizing your gallery wall
Once the frames are up, the styling decisions transform a decent arrangement into a genuinely impressive one. A successful gallery wall balances variety with a unifying element. Without variety, the wall looks flat. Without unity, it looks random.
Here are the elements that make the biggest difference:
- Mix frame shapes and textures. Include a round mirror, a woven wall basket, or a small shelf between frames. These breaks in the rectangular pattern add rhythm and depth that all-frame arrangements rarely achieve.
- Maintain one common thread. Choose either a consistent frame finish, a limited color palette across the artwork, or a shared subject matter. Pick one and commit to it.
- Balance visual weight. Dark frames and bold artwork are heavy visually. Spread them across the arrangement rather than clustering them in one corner.
- Work with your furniture. The gallery wall should feel connected to what sits below it. If your sofa is gray and white, introducing warm terracotta tones in the artwork creates contrast without conflict.
- Light the wall deliberately. A small picture light mounted above the anchor piece or a directional lamp nearby adds dimension, especially in the evening. Without it, even the best arrangement can look flat after dark.
- Plan for seasonal updates. Swap one or two prints each season to refresh the wall without redesigning the whole thing. This is where canvas prints or easily swapped poster frames earn their value.
For guidance on curating art for your space, look at how professional interior designers approach cohesion. They rarely mix more than three frame colors and almost always pull one accent color from the artwork into the room’s soft furnishings.
What I have learned from building gallery walls
I treat every gallery wall as a single piece of art rather than a collection of separate objects. That shift in thinking changes every decision you make, from which frames you choose to how you space them. When the whole arrangement is the art, individual pieces that might look ordinary on their own start to carry meaning within the group.
The biggest mistake I see is people hanging frames one at a time, starting in a corner and hoping it will come together. It almost never does. Treating the full arrangement as one visual unit before touching the wall is the single decision that separates a polished result from a frustrating one.
I also think people underestimate the power of non-frame objects. A small ceramic wall piece, a dried botanical, or a single sculptural hook between two prints adds texture that photographs cannot provide. The best gallery walls I have put together always have at least one element that breaks the expected format.
My honest advice: do not wait until you have the “right” collection. Start with what you have, hang it thoughtfully, and let it evolve. A gallery wall that grows over time tells a more interesting story than one assembled in a single shopping trip.
— Eman
Original art that belongs on your gallery wall

Finding pieces that hold their own in a gallery wall arrangement is harder than it looks. At Emansgallery, artist Eman Khalifa creates original handmade paintings and museum-quality canvas prints across abstract, floral, seascape, and geometric styles. Each piece is a one-of-a-kind original or a limited fine art print, designed to anchor a wall or complete a curated grouping. The fluid blue and gold original works particularly well as a gallery wall centerpiece. Browse the full canvas and framed print collection to find prints in multiple sizes that fit any layout. Worldwide shipping available.
FAQ
What is a gallery wall?
A gallery wall is a curated arrangement of multiple frames, artworks, photographs, or decorative objects displayed together on a single wall as a unified visual grouping. It can follow a structured grid or a more loosely organized salon-style layout.
How do I find the center point for hanging my gallery wall?
Use the 57-inch rule and place the visual center of your entire arrangement at 57 inches from the floor. Determine the center of the full grouping first, then align that point to 57 inches on the wall.
How far apart should frames be on a gallery wall?
Keep 2 to 3 inches between frames. Use 2 inches for uniform grid layouts and 3 inches for mixed or salon-style arrangements.
Can renters create a gallery wall without damaging walls?
Yes. Picture rail systems installed with adhesive strips create a fully flexible hanging arrangement with no wall damage. Adhesive hanging strips also work for lighter frames under 8 pounds.
What art works best for a gallery wall?
A mix of sizes, orientations, and subject matters unified by a common frame finish or color palette creates the most visually interesting result. Avoid using all the same size frames unless you are going for a deliberate grid aesthetic.
Stay Connected
-
✨ Explore Eman Khalifa's original art
-
📸 Follow Eman Khalifa's art journey on: Instagram @emans_gallery and Facebook Eman's Gallery
-
📹 Watch Eman Khalifa creating live art on: YouTube @emans_gallery
