


How to Plan a Gallery Wall: A Step-by-Step Guide
TL;DR:
- Planning a gallery wall begins with measuring wall space, selecting an anchor piece, and using consistent spacing. Proper preparation and layout, including floor mockups, help achieve an intentional, balanced display. Using a unifying thread and varied art styles enhances the wall’s personal and layered look.
Planning a gallery wall means selecting an anchor piece, measuring your wall space precisely, choosing frames with a unifying thread, and arranging art with consistent spacing to create a cohesive, dynamic display. Done right, a gallery wall transforms a blank surface into the most personal statement in your home. This guide covers every step: measuring, frame selection, layout strategy, and hanging techniques, so you can build a display that looks intentional, not accidental.
How to plan a gallery wall: measuring and preparing your wall space
Accurate measurement is the foundation of every successful gallery wall. Without it, you end up with frames that crowd a corner or float awkwardly in the middle of a large wall.
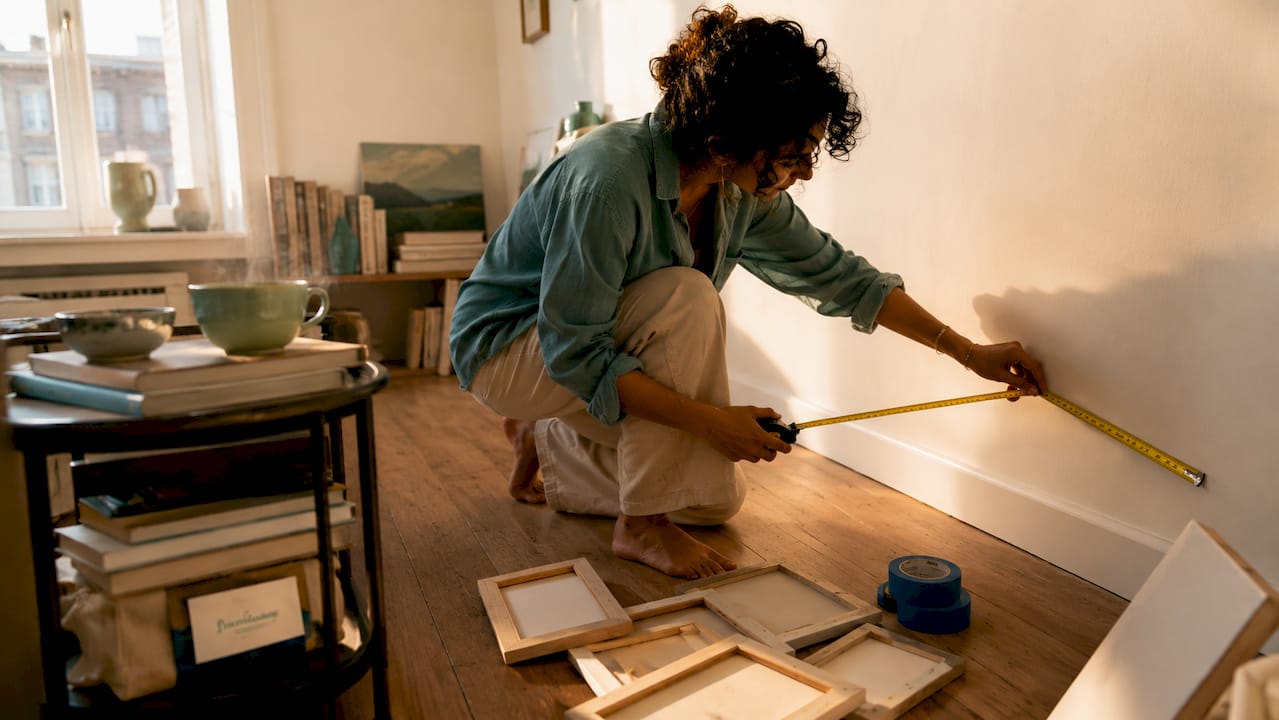
Start by measuring the full usable width and height of your wall in both inches and centimeters. Note any fixed obstacles: light switches, electrical outlets, air vents, and the top edge of furniture like sofas or consoles. These elements define your actual hanging zone, not the full wall dimensions.
Next, locate the horizontal center of your wall and mark it lightly with a pencil. Eye level for hanging art is generally around 57 inches from the floor to the center of the artwork. That height creates a natural, inviting viewing experience in most rooms and is the standard used by professional galleries.
Tools you need before you start:
- Tape measure (at least 25 feet)
- Pencil and painter’s tape
- Spirit level
- Notepad or phone for recording measurements
- Camera or phone for reference photos
Pro Tip: Tape the outer boundary of your planned gallery directly onto the wall using painter’s tape before you hang a single frame. This gives you a clear visual of the total footprint and prevents the common mistake of starting too small.
The entire measuring and hanging process takes about two hours when done carefully. Rushing it leads to uneven gaps and misaligned nail holes that are hard to fix later.
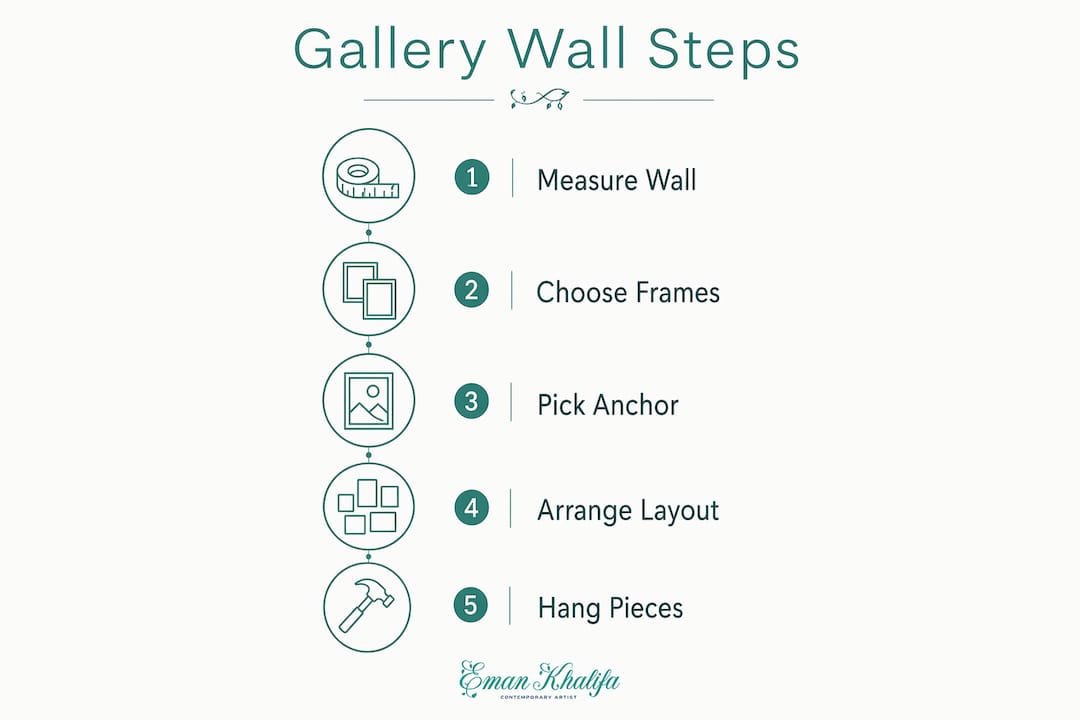
What frame sizes and spacing work best for a cohesive gallery wall?
Frame selection is where most people overcomplicate things. The best gallery wall ideas use a limited range of sizes, not a random mix of everything you own.
Stick to 2–3 sizes from the standard frame ladder: 8x10, 11x14, and 16x20 inches are the most versatile combination for a medium-sized wall. For larger walls, adding an 18x24 or 24x36 as your anchor piece gives the composition weight. Using more than three sizes creates visual noise that reads as clutter rather than curation.
Spacing between frames matters just as much as size. A 2-inch gap between frames is the standard starting point. It is tight enough to unify the wall as a single composition but gives each piece enough breathing room to be seen individually.
| Spacing | Visual effect | Best for |
|---|---|---|
| 1 inch or less | Dense, maximalist, editorial | Bold, graphic collections |
| 2 inches | Balanced, unified, classic | Most home gallery walls |
| 3–4 inches | Airy, relaxed, gallery-style | Minimal or Scandinavian interiors |
| 5 inches or more | Scattered, disconnected | Not recommended for cohesion |
Pro Tip: Cut paper templates to the exact size of each frame and tape them to the wall before committing to nail placement. This lets you adjust spacing by eye without making a single hole.
Consistent spacing is the single biggest factor separating a polished gallery wall from a chaotic one. Pick your gap and stick to it across the entire arrangement.
How to arrange art pieces effectively around an anchor piece
The anchor piece is the largest or most visually striking artwork in your collection. Every other frame in the arrangement responds to it. Choosing the right anchor is the most important decision in the entire process.
Choosing and placing your anchor piece
Select a piece that has personal significance or strong visual presence. This could be a large original painting, an oversized canvas print, or a framed photograph with emotional weight. Size matters: your anchor should be noticeably larger than the next biggest piece in the arrangement.
Place the anchor piece slightly off-center rather than dead center on the wall. Off-center placement guides the viewer’s eye across the full composition rather than locking it in one spot. Centered placement works too, but it reads as more formal and static.
Building the layout outward
Once the anchor is placed, build the rest of the arrangement around it using this sequence:
- Place the anchor piece first. Mark its position on the wall or floor template.
- Add the two or three medium-sized frames (11x14 or 16x20) around the anchor, balancing visual weight on both sides.
- Fill gaps with smaller pieces (8x10 or smaller), using a mix of vertical and horizontal orientations to add variety.
- Step back after each addition and assess the overall balance. Adjust before committing.
- Photograph the floor layout from above before moving anything to the wall. This reference photo saves significant time during hanging.
Professional designers use floor mockups and reference photos as standard practice. Taping the gallery footprint on the floor and photographing it gives you a reliable visual guide that eliminates guesswork at the wall.
Mixing orientations adds life to the arrangement. A row of all-vertical frames reads as rigid. Alternating vertical and horizontal pieces creates rhythm and movement across the composition.
What styling tips and common mistakes should you avoid?
Creating a gallery wall that looks collected rather than cluttered comes down to one concept: the thread. A thread is a shared element that ties varied frames and art styles together. It could be a consistent frame color, a recurring subject matter like botanicals or cityscapes, a shared color palette across the artworks, or a unifying material like all-wood or all-metal frames.
Mixed frame colors and styles actually produce more interesting and personal gallery walls than matching sets. The thread is what keeps the mix from looking random. You can combine a black metal frame, a natural wood frame, and a white frame as long as the art inside shares a color story.
Non-art objects add depth and personality. Mirrors, decorative plates, small shelves, and meaningful keepsakes all work within a gallery wall arrangement. They break up the flatness of framed pieces and give the wall a layered, lived-in quality. For more inspiration on mixing objects and art, the gallery wall ideas guide at Artify covers a wide range of room-specific approaches.
Common mistakes to avoid:
- Starting with small pieces and building up. Always start with the largest piece to anchor the composition. Starting small causes the arrangement to drift upward and lose balance.
- Inconsistent spacing. Varying the gap between frames by even half an inch makes the whole wall look unplanned.
- Ignoring wall constraints. Hanging art over a light switch or too close to a vent creates practical problems that force you to redo the arrangement.
- Matching all frames. Identical frames read as a set, not a gallery. Variety within a thread is the goal.
Pro Tip: After hanging, step back to the opposite side of the room and look at the wall as a whole. Small adjustments made from a distance are far more effective than tweaking individual frames up close.
What tools and techniques make hanging a gallery wall easier?
The right tools prevent the most common installation errors: crooked frames, uneven gaps, and nail holes in the wrong spots.
Essential tools for hanging:
- Tape measure and pencil for marking nail positions
- Painter’s tape for wall templates and boundary marking
- Spirit level for checking horizontal alignment
- Appropriate hanging hardware (D-rings, picture hooks, or wall anchors depending on frame weight)
- Hammer and nails, or a drill for heavier pieces
The paper template technique is the most reliable method for precise placement. Trace each frame onto kraft paper or newspaper, cut it out, mark the nail position on the template, and tape the templates to the wall in your planned arrangement. Hammer nails directly through the paper, then tear it away. Your nail positions are exact.
“Taping the intended gallery footprint on the floor and snapping a reference photo is standard practice among professional designers. It eliminates the need for excessive wall measurements and gives you a reliable visual guide before a single nail goes in.” — How To Actually Make A Gallery Wall
For renters, Command strips work well for lightweight pieces under about 5 pounds. For heavier or glass-covered frames, use permanent hanging hardware rated for the frame’s weight. Command strips on heavy pieces are a risk not worth taking.
Plan for roughly two hours of focused work from first measurement to final frame. That estimate covers measuring, floor layout, template creation, and hanging. Splitting the process into two sessions, one for planning and one for hanging, often produces better results than trying to do everything in one go.
Key takeaways
A successful gallery wall starts with the anchor piece and builds outward with consistent spacing, a unifying thread, and precise measurement before a single nail goes in.
| Point | Details |
|---|---|
| Measure first, hang second | Map your full wall space, mark obstacles, and establish eye-level height at 57 inches before planning layout. |
| Limit frame sizes | Use 2–3 sizes from the standard ladder (8x10, 11x14, 16x20) to maintain visual hierarchy without clutter. |
| Anchor piece drives the layout | Place the largest piece slightly off-center first, then build outward with medium and small frames. |
| Use a unifying thread | Connect varied frames and styles through a shared color palette, subject matter, or material. |
| Plan on the floor before the wall | Photograph your floor mockup as a reference guide to minimize errors during hanging. |
Why I always start with the anchor piece, not the wall
Most people approach a gallery wall by staring at the blank wall and trying to visualize the finished result. I used to do the same thing, and it almost always led to a frustrating afternoon of filling nail holes.
The shift that changed everything for me was starting on the floor. I lay out every piece I am considering, move them around freely, and photograph the arrangement I like best. Only then do I take measurements from the floor layout to the wall. The floor is forgiving. The wall is not.
My other strong opinion: stop trying to make it symmetrical. Symmetry looks planned in a way that feels stiff. The most personal gallery walls I have seen embrace asymmetry and let the anchor piece do the heavy lifting. One strong original painting surrounded by a mix of prints, a small mirror, and a meaningful photograph tells a story that a perfectly balanced grid never can.
If you are choosing art for a gallery wall, do not default to prints of the same style. Mix an original painting with a canvas print and a framed photograph. The variation in texture and medium adds depth that a matching set simply cannot replicate. Check the selecting art prints guide at Emansgallery for practical advice on pairing originals with prints in a single arrangement.
The process takes patience. Give yourself the full two hours. Resist the urge to start hanging before the floor layout is finalized. A well-planned gallery wall is one of the most rewarding things you can do to a room, and the planning is what makes it work.
— Eman
Find original art to anchor your gallery wall

Emansgallery offers original handmade paintings and museum-quality canvas prints by artist Eman Khalifa, shipped worldwide from the UK, USA, Canada, Australia, and more. Every piece is one of a kind, which means your gallery wall starts with something no one else has. Browse the full collection of wall art prints and canvas prints to find your anchor piece, whether that is a fluid abstract ocean painting like Good Tidings, a tonalist moonlit scene like Nocturned, or a geometric canvas print like City in Grids. Original art ships ready to hang and arrives ready to become the centerpiece of your arrangement.
FAQ
What is the best layout for a gallery wall?
The best layout for a gallery wall places the largest piece slightly off-center, then builds outward with medium and small frames using consistent 2-inch spacing. This approach creates visual balance and guides the eye across the full composition.
How do I choose art for a gallery wall?
Select pieces connected by a thread: a shared color palette, subject matter, or frame material. Mixing original paintings, canvas prints, and photographs adds texture and depth that matching sets cannot achieve.
How many frames do I need for a gallery wall?
A gallery wall on a standard living room wall typically uses 5–9 frames. Start with one anchor piece, two or three medium frames, and two or three smaller pieces, then add or remove based on your wall size and spacing.
Can I create a gallery wall without damaging the walls?
Command strips work well for lightweight frames under approximately 5 pounds. For heavier or glass-covered pieces, use permanent hanging hardware to prevent frames from falling.
How long does it take to hang a gallery wall?
The full process from measuring to final frame takes about two hours when done carefully. Splitting planning and hanging into two sessions often produces a more accurate and polished result.
Stay Connected
-
✨ Explore Eman Khalifa's original art, fine art prints & art merchandise
-
Follow Eman Khalifa's art journey on: Instagram @emans_gallery and Facebook Eman's Gallery
-
Watch Eman Khalifa creating live art on: YouTube @emans_gallery
-
Supported by BabyLoveGrowth
