


Picture Hanging Tricks Made Easy for DIY Homeowners
The best picture hanging tricks at a glance
Getting pictures straight, secure, and well placed comes down to a handful of repeatable techniques. These are the ones that work every time.
- Use painter’s tape as a template. Press tape across the back of the frame, mark the nail positions, then transfer the tape to the wall before driving a single nail.
- Center art at 57–60 inches from the floor. Every major museum uses this standard. Most homes hang too high.
- Match artwork width to furniture. The art should be 2/3 to 3/4 the width of the furniture beneath it.
- Choose hardware by weight. Frames under 10 pounds take a single picture nail; heavier pieces need anchors, toggle bolts, or stud mounting.
- Lay out gallery walls on the floor first. Arrange all frames on the floor before touching the wall to avoid unnecessary nail holes.
- Use a level or smartphone app. Even a slight tilt reads as careless once the frame is up.
- Install D-rings near frame edges for stable, repeatable hanging that keeps frames from tilting.
How to hang pictures perfectly using painter’s tape
This method removes all guesswork. It works for single frames and for gallery wall arrangements alike.
- Flip the frame face down. Lay it on a flat surface so the hanging hardware is visible.
- Run a strip of painter’s tape across the back. Cover both hooks, D-rings, or the wire anchor points with one horizontal strip.
- Mark the nail positions. Press the tape firmly and use a pen to dot the exact center of each hook or hanging point directly onto the tape.
- Peel the tape off the frame. The tape now carries a precise map of where the nails need to go.
- Stick the tape to the wall. Position it at the height you want, step back, and check that it looks centered and level. Adjust freely — painter’s tape allows repositioning without damaging paint.
- Drive nails through the marked dots. Hammer straight through the tape at each marked point.
- Peel away the tape. Remove it cleanly, then hang the frame. It will seat onto the nails on the first try.
Pro Tip: Snap a photo of the tape on the wall before nailing. If you ever need to rehang the piece, you have an exact reference.
How to avoid crooked or insecure frames
Crooked frames and fallen pictures share a common cause: skipped steps in leveling and hardware selection.
- Use a level every time. A carpenter’s level, a laser level, or a smartphone level app all work. Even a small ball placed on top of the frame will roll if the surface is off.
- Match hardware to frame weight. Frames under 10 pounds can use a single picture nail. Frames from 10–30 pounds need drywall anchors or stud mounting. Frames from 30–50 pounds require heavy-duty toggle bolts or dual anchors. Very heavy pieces call for a French cleat system.
- Drill pilot holes before inserting screws. Pilot holes prevent the screw from walking sideways and reduce wall damage around the entry point.
- Install D-rings near frame edges rather than relying on picture wire. Wire allows the frame to lean forward and tilt; D-rings hold the frame flat and level against the wall.
- Drive nails at a 45-degree angle. An angled nail has more contact with the wall material and resists the downward pull of the frame better than a perpendicular one.
- Use two hooks per frame when possible. A single hook lets frames rotate; two hooks keep them fixed.
Pro Tip: For renters or anyone avoiding nails entirely, adhesive hanging strips like Command Strips hold frames securely and remove cleanly. Always check the weight rating on the packaging before use.
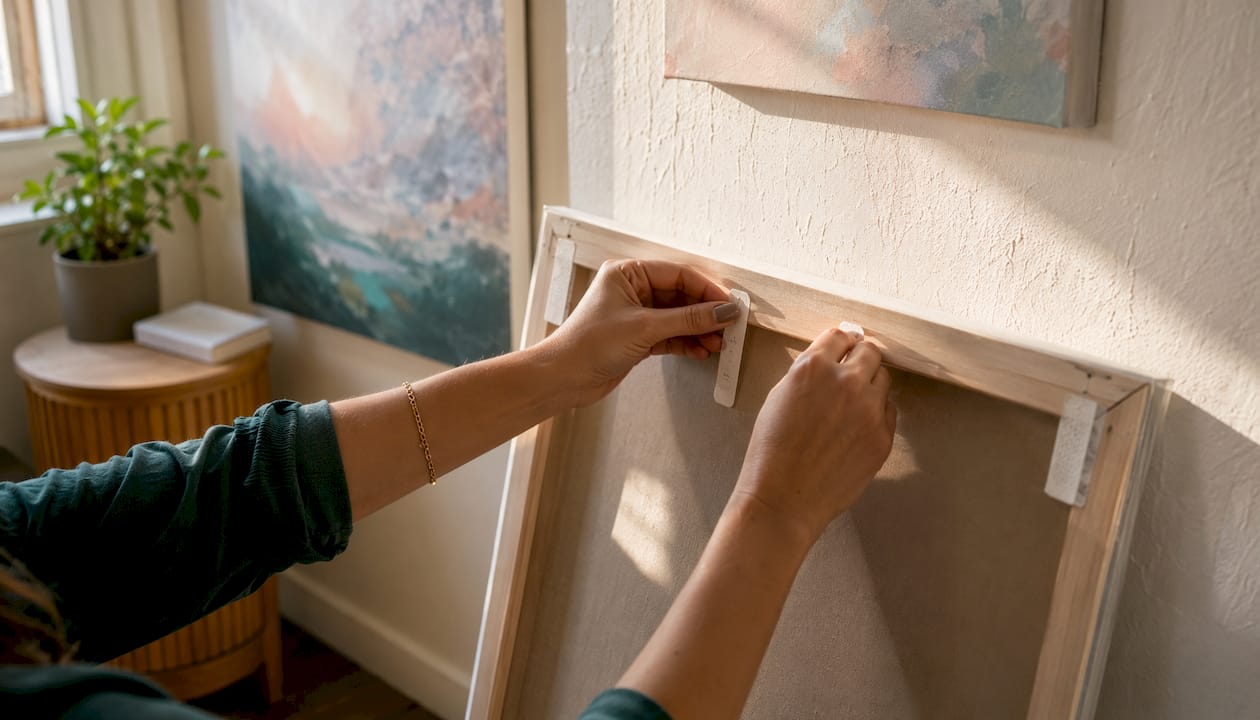
Best practices for balanced and attractive picture placement
Placement decisions have as much visual impact as the art itself. These proportions are used by professional installers and museum curators.
- Hang the center of the artwork at 57–60 inches from the floor. This aligns with average standing eye level. Homes with 8-foot ceilings should follow this standard, not the older 65–72 inch height used when 10-foot ceilings were common.
- Leave a 6–12 inch gap above furniture. Less than 6 inches and the art looks dropped onto the sofa. More than 12 inches and it floats, disconnected from the room.
- Apply the 2/3 to 3/4 width rule. For a 60-inch sofa, artwork width should be approximately two-thirds to three-quarters of the sofa’s width for visual balance. A piece smaller than half the furniture width reads as an afterthought.
- For gallery walls, keep spacing consistent. Use 2–4 inches between frames for tight clusters, or 6–10 inches for a looser, more casual arrangement.
- Lay out on the floor first. Arrange all frames on a floor space matching the wall dimensions. Move them freely for as long as needed, then trace paper templates and transfer the layout to the wall.
- Start with the largest piece. Anchor the arrangement with the biggest frame, placed slightly off-center, then build around it. This draws the eye across the wall rather than straight to the middle.
- Group frames in odd numbers. Three or five frames read as a composition; even-numbered groups tend to feel static.
Pro Tip: Vary frame sizes deliberately. Three frames of the same size read as wallpaper. Mixing small, medium, and large within the same cluster creates visual rhythm. Mixing vertical and horizontal orientations adds further depth. For more on artistic interior design approaches that apply these principles, the guidance translates directly to residential walls.
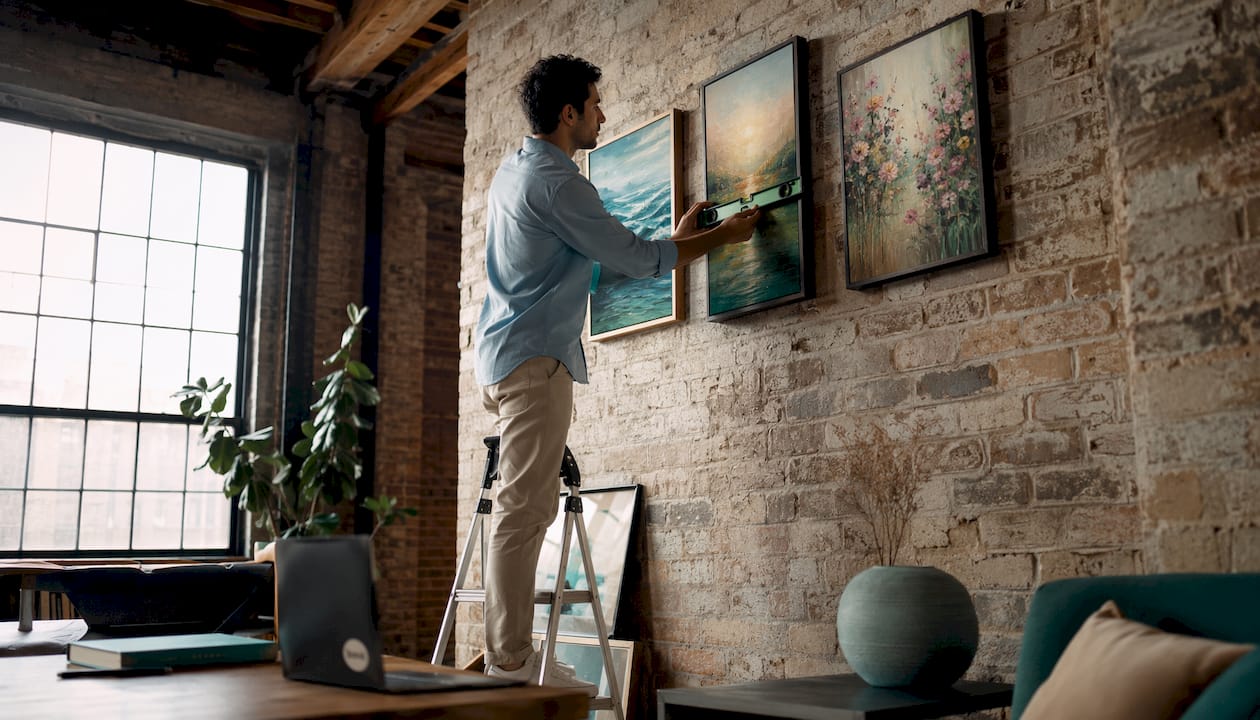
Professional art display insights from Eman Khalifa
Eman Khalifa is a London-based British-Egyptian-American contemporary artist whose work spans oil, acrylic, and mixed media across seascapes, landscapes, abstracts, and florals. Her paintings have been featured in FAD Magazine and Artlyst. She accepts commissions and ships original works worldwide through Emansgallery.
Hanging height and spacing are not decorating preferences. They are the structural grammar of how a room reads. Center the artwork at 57–60 inches, respect the gap above furniture, and treat a gallery wall as a single composition rather than a collection of individual frames. When those three things are in place, even a modest piece holds the wall with authority.
Eman’s approach to professional art display rests on a few consistent principles:
- Treat the gallery wall as one unit. Begin with a focal piece at eye level, then arrange supporting works around it as you would elements in a painting.
- Mix frame finishes, not just sizes. A bronze frame above a navy sofa creates contrast. A matching frame blends in and loses presence.
- Use hardware that disappears. D-rings and flush-mount cleats keep the focus on the art, not the mechanics of hanging.
- Consider art size relative to the room before purchasing. A piece that is too small for the wall it occupies will always look accidental, regardless of its quality.
- Commissions allow exact sizing. When no available work fits the wall, a commissioned piece can be scaled to the precise proportions the space requires.

Emansgallery offers original paintings and museum-quality canvas prints sized for real walls, from intimate studies to large-scale statement pieces. Each work ships worldwide.
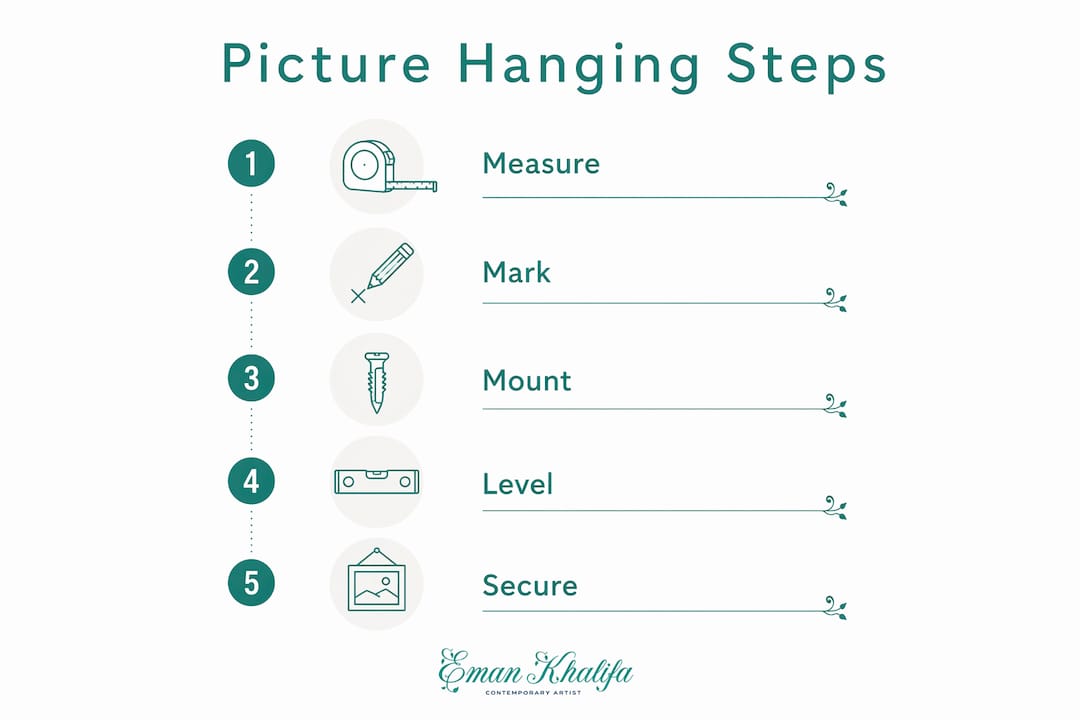
Key Takeaways
The single most effective picture hanging approach combines the painter’s tape template method with the 57–60 inch center height rule and hardware matched to frame weight.
| Point | Details |
|---|---|
| Use painter’s tape as a template | Mark nail positions on tape at the back of the frame, transfer to the wall, and nail through the marks. |
| Center art at 57–60 inches | This is the museum standard for eye-level viewing; most homes hang too high at 65–72 inches. |
| Match hardware to frame weight | Under 10 lbs: picture nail. 10–30 lbs: drywall anchor or stud. 30–50 lbs: toggle bolts or dual anchors. |
| Apply the 2/3 to 3/4 width rule | Artwork above a 60-inch sofa should be 40–45 inches wide for visual balance. |
| Lay out gallery walls on the floor | Arrange all frames before nailing to avoid unnecessary holes and preview the final composition. |
FAQ
How high should pictures be hung on a wall?
Center the artwork at 57–60 inches from the floor. This is the standard used by museums and professional installers, and it aligns with average standing eye level.
How do you hang pictures without nails?
Adhesive hanging strips, such as Command Strips, attach to the back of the frame and press directly onto the wall. Always verify the weight rating on the packaging matches the frame weight before use.
What is the best way to hang multiple frames evenly?
Use the painter’s tape template method for each frame, keep spacing consistent at 2–4 inches for tight clusters or 6–10 inches for looser arrangements, and lay out the arrangement on the floor before transferring to the wall.
What hardware should heavy frames use?
Frames from 10–30 pounds need drywall anchors or stud mounting. Frames from 30–50 pounds require heavy-duty toggle bolts or dual anchors. Very heavy pieces use a French cleat system mounted into multiple studs.
How do you keep picture frames from tilting or going crooked?
Install two D-rings near the frame edges instead of relying on picture wire, use two wall hooks rather than one, and verify level with a carpenter’s level or smartphone app after hanging.
Stay Connected
- ✨ Explore Eman Khalifa's original art, fine art prints and art-inspired merchandise.
- Follow Eman Khalifa's art journey on: Instagram @emans_gallery and Facebook
- Watch Eman Khalifa creating live art on: YouTube @emans_gallery
