


How to Put Canvas on Wall: 5 Methods That Work
The five most reliable methods for hanging canvas art are nails, sawtooth brackets, eye hooks with wire, J-hooks, and adhesive strips. Your choice depends on three factors: canvas weight, wall type, and whether you need a damage-free solution.
- Nails: Best for lightweight canvases under 5 lbs. Quick and minimal.
- Sawtooth brackets: Ideal for small to medium pieces. Allow easy horizontal adjustment.
- Eye hooks with wire: Suited for wider or heavier canvases. Distribute weight across two points.
- J-hooks: Best for large, heavy pieces on drywall or plaster. Minimal wall damage.
- Adhesive strips: The go-to for renters. No holes, no tools, fully removable.
The standard ideal height for hanging a canvas is 57 inches from the floor to the center of the piece, which corresponds to average eye level and ensures comfortable viewing. Above furniture, keep a moderate clearance between the top of the piece and the bottom of the frame to allow breathing room.
Table of Contents
- What tools do you need to hang canvas art?
- How to put canvas on wall: step-by-step methods
- How to protect your canvas and walls during and after hanging
- Expert advice from Eman Khalifa on displaying canvas art
- Emansgallery: ready-to-hang canvas art worth displaying
- Key Takeaways
- FAQ
What tools do you need to hang canvas art?
Getting the right tools together before you start saves time and prevents mistakes. Most canvas hanging projects require only basic items.
Core tools:
- Tape measure and pencil (or painter’s tape for marking)
- Spirit level or digital level
- Hammer and screwdriver
- Stud finder (for heavier pieces)
Hardware options:
- Nails, sawtooth hangers, D-rings, picture wire, J-hooks
- Drywall anchors or wall plugs and fixings when studs are unavailable
- Adhesive strips rated for your canvas weight
Protective accessories:
- Wall bumpers or felt pads for the bottom corners of the frame
- Soft cloth for cleaning the wall surface before adhesives
A stud finder is recommended for heavier canvases. When a stud is not available, drywall anchors rated to match or exceed the canvas weight are the correct backup. Skipping this step is the most common reason canvases fall.
How to put canvas on wall: step-by-step methods
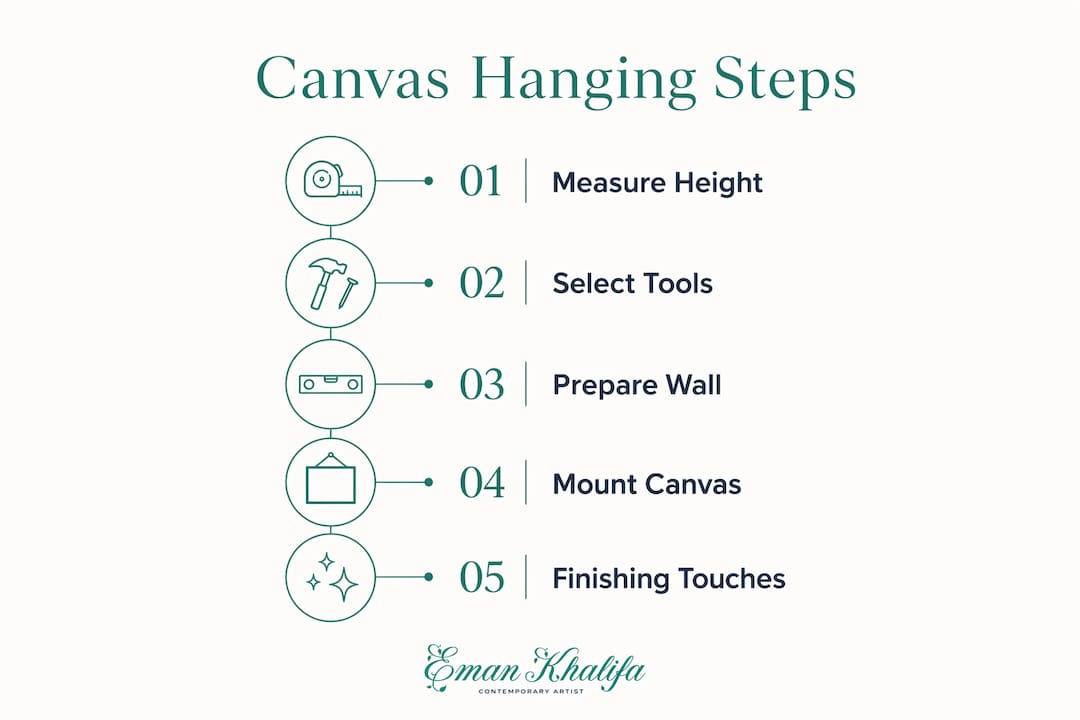
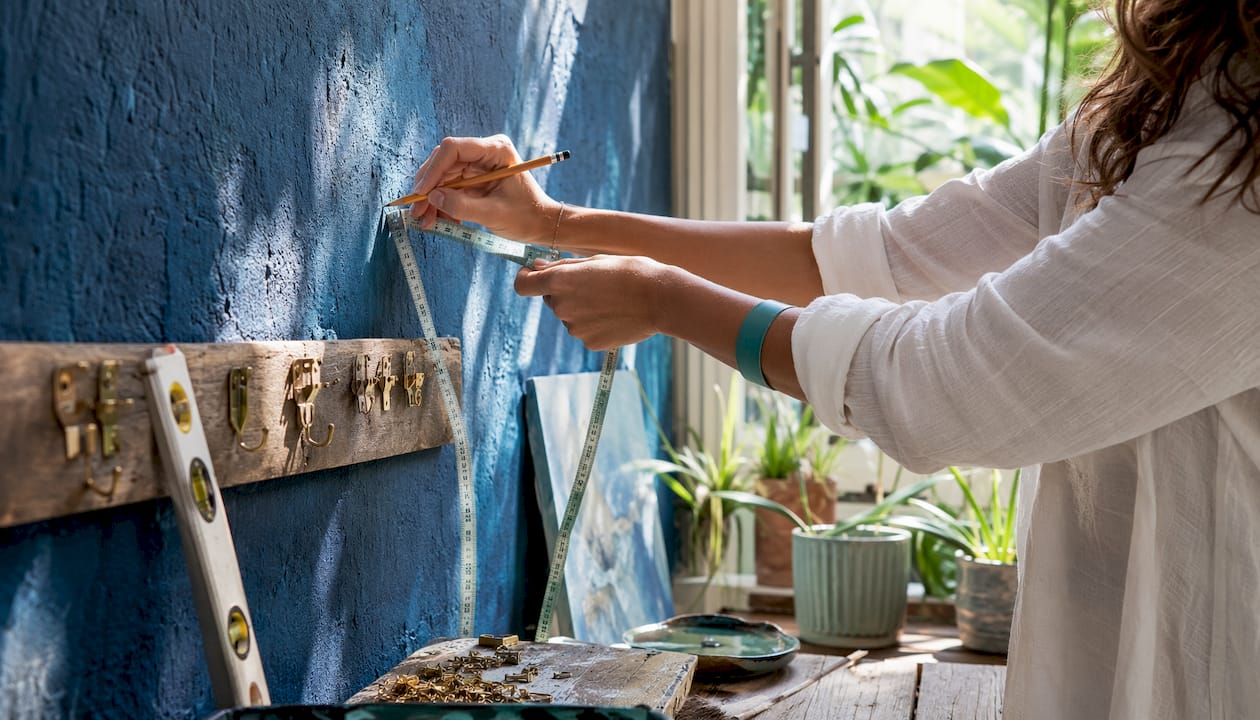
Preparation is the same for every method. Clean the wall with a soft cloth, mark your center point at 57 inches from the floor, and confirm the wall type before selecting hardware.
1. Single nail (lightweight canvases under 5 lbs)
- Mark the center point on the wall at your chosen height.
- Drive one nail at a 45-degree upward angle, leaving about half an inch of the head exposed.
- Hang the canvas on the nail head, then add felt bumpers to the bottom corners.
- Check level and adjust.
Use two nails spaced a few inches apart for slightly wider lightweight pieces. This prevents tilting.
2. Sawtooth hanger (small to medium canvases)
- Attach the sawtooth hanger to the center of the top stretcher bar using the provided screws.
- Mark two level points on the wall spaced to match the outer notches of the hanger.
- Tap in two small nails so the heads support the serrations.
- Rest the hanger on the nails and check level.
Sawtooth hangers allow small left-to-right adjustments without re-drilling, which makes centering above furniture straightforward.
3. D-rings with picture wire (wider or heavier canvases)
- Attach a D-ring to each side stretcher bar, about one-third of the way down from the top.
- Confirm both rings sit at the same height.
- Thread coated picture wire through the first D-ring, loop it twice, and wrap the tail neatly.
- Run the wire to the second ring and repeat, leaving a slight arc.
- Mark two level points on the wall, install hooks or screws, and hang via the wire.
This setup distributes weight evenly across two anchor points, which protects both the canvas frame and the wall.
4. J-hooks (large or heavy canvases)
- Mark two level points spaced roughly two-thirds of the frame width apart.
- Drive screws into studs at a slight upward angle, or use weight-rated drywall anchors.
- Install J-hooks at each point, checking alignment carefully.
- Hang the canvas, tug gently to seat it, and add felt bumpers.
Use two J-hooks for any canvas wider than 24 inches. A single hook on a wide piece allows swinging and gradual tilting over time.
5. Adhesive strips (damage-free hanging)
- Clean the wall with rubbing alcohol and let it dry fully.
- Press adhesive strips onto the frame near all four corners.
- Press the canvas firmly to the wall and hold for 30 seconds per strip.
- Wait at least one hour before releasing.
Adhesive strips hold up to 20 lbs under the right conditions. They fail on textured, moist, or freshly painted walls, so traditional hardware is the better call in those situations.
Pro Tip: For gallery walls, cut paper templates matching each canvas size and tape them to the wall before making any holes. Step back from different angles to confirm the arrangement before committing.
How to protect your canvas and walls during and after hanging
Damage-free hanging starts with location. Avoid bathrooms, kitchens, and walls with direct sunlight, as excess humidity and UV exposure warp stretcher bars and degrade the fabric over time.
- Adhesive prep: Always clean the wall with rubbing alcohol before applying strips. Dust and oils prevent proper bonding.
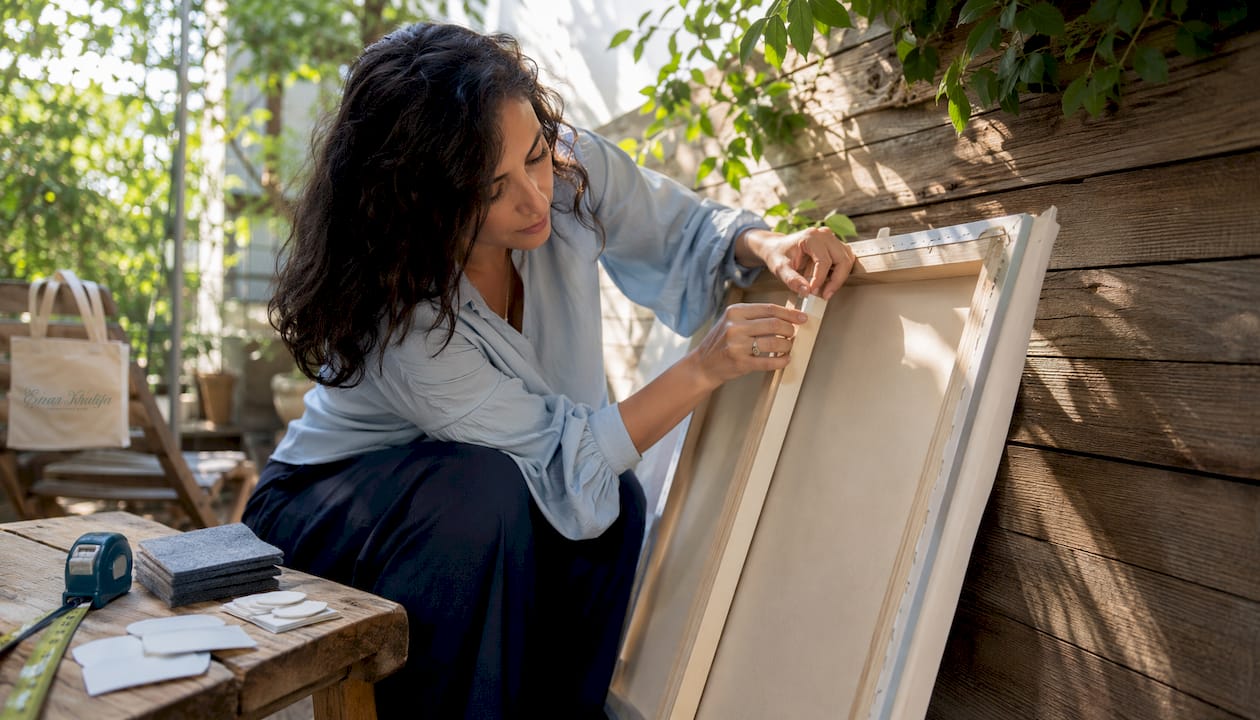
- Wall bumpers: Attach felt or rubber pads to the bottom corners of every canvas. They prevent the frame from scratching paint and stop the piece from drifting or tilting after hanging.
- Textured walls: Adhesives perform poorly on rough or porous surfaces. Use nails, screws, or masonry anchors instead.
- Removing adhesive strips: Pull the tab straight down slowly, parallel to the wall. Pulling outward tears the strip and can pull paint with it.
- Freshly painted walls: Wait 7–30 days after painting before hanging anything. Paint that has not fully cured will peel when adhesives are removed.
Pro Tip: Attach felt pads to all four corners of the frame, not just the bottom two. The top corners protect the wall if the canvas swings forward slightly when someone walks past.
Expert advice from Eman Khalifa on displaying canvas art
Eman Khalifa, the London-based contemporary artist behind Emansgallery, applies the same principles to her own work that professional galleries use. Her guidance covers placement, hardware, and care.
Eman’s practical display recommendations:
- Hanging height: Center the canvas at 57 inches from the floor as a starting point. In rooms with high ceilings, adjust slightly upward so the piece feels balanced in the space.
- Above furniture: Keep 6–10 inches between the top of a sofa or console and the bottom of the frame. Aim for a canvas width roughly two-thirds of the furniture below.
- Hardware by size: Small originals and prints work well on sawtooth hangers. Larger or heavier pieces need D-rings with wire or two J-hooks for proper weight distribution.
- Gallery walls: Start with one anchor piece at the visual center, then build outward. Use painter’s tape templates to plan the layout before drilling.
- Environmental care: Keep canvas art away from direct sunlight and high-humidity rooms. For canvas preservation, consistent indoor temperature and low humidity protect both the fabric and the stretcher bars long term.
For more placement and styling guidance, Emansgallery’s canvas display guide covers arrangement strategies for single pieces and gallery walls in detail.
Emansgallery: ready-to-hang canvas art worth displaying

Once you have the right method and hardware in place, the art itself matters just as much as the installation. Emansgallery offers museum-quality canvas prints and original paintings by Eman Khalifa, each created to hold its own as a focal point in any room. Pieces like Good Tidings and Mystic Sea arrive ready to hang, with stretcher bars built for standard hardware. Whether you are furnishing a living room, a hallway, or a collector’s space, Emansgallery ships worldwide from the US, UK, and across Europe. Browse the full collection and find the piece that fits your wall at emansgallery.com.
Key Takeaways
Matching your hanging method to canvas weight and wall type is the single most important decision in any canvas installation.
| Point | Details |
|---|---|
| Match method to weight | Use nails or sawtooth for small, lightweight canvases; D-rings with wire or J-hooks for larger or heavier pieces. |
| Standard hanging height | Center the canvas at 57 inches from the floor to the center of the piece for standard eye-level viewing. |
| Damage-free option | Adhesive strips hold well on smooth, clean, fully cured walls when used appropriately. |
| Protect walls and canvas | Felt bumpers on bottom corners prevent paint scuffing and stop the frame from drifting. |
| Emansgallery | Offers museum-quality canvas prints and originals that arrive ready to hang with standard hardware. |
FAQ
What is the best way to hang a canvas on the wall?
Match the method to the canvas weight: a single nail or sawtooth hanger for lightweight pieces, D-rings with picture wire or J-hooks for larger or heavier work. Center the canvas at 57 inches from the floor for standard eye-level display.
Can you hang canvas art without nails?
Yes. Adhesive strips rated for up to 20 lbs work on smooth, clean, fully cured walls and leave no holes when removed correctly. They are not suitable for textured, moist, or freshly painted surfaces.
How do you hang a heavy canvas securely?
Use two J-hooks or D-rings with coated picture wire, anchored into wall studs or weight-rated drywall anchors. Space the hooks roughly two-thirds of the frame width apart to prevent swinging and maintain level over time.
How high should canvas art be hung?
The standard is 57 inches from the floor to the center of the canvas. Above furniture such as a sofa, keep 6–10 inches of clearance between the top of the furniture and the bottom of the frame.
How do you remove canvas from a wall without damaging it?
For adhesive strips, pull the removal tab straight down slowly, parallel to the wall surface. For nails or hooks, lift the canvas off carefully and fill the hole with lightweight spackle once the piece is down.
Stay Connected
- ✨ Explore Eman Khalifa's original art, fine art prints and art-inspired merchandise.
- Follow Eman Khalifa's art journey on: Instagram @emans_gallery and Facebook
- Watch Eman Khalifa creating live art on: YouTube @emans_gallery
