


How to Create a Gallery Wall With Family Photos
TL;DR:
- A gallery wall showcases a curated collection of photos and art to create a unified display. Proper planning, including wall selection and layout testing, is essential for an intentional look. Updating with modular systems and original art keeps the display fresh and personalized over time.
A gallery wall is a curated arrangement of framed photos, art, and objects grouped together on a single wall to function as one unified display. Learning how to create a gallery wall with family photos gives you a permanent, personalized showcase of your most meaningful memories. Design standards recommend placing the center of any arrangement 57 to 66 inches from the floor, which aligns with average eye level for comfortable viewing. That single measurement prevents the most common mistake homeowners make: hanging everything too high. Planning your photo selection, frame coordination, spacing, and layout before you touch a nail saves hours of frustration and produces a result that looks intentional, not accidental.
How to create a gallery wall with family photos: choosing the right wall
The wall you choose determines everything else. High-traffic or transitional areas work best because people naturally pause there. Living rooms, hallways, and staircases are the three strongest candidates for a family photo display.
Before committing to a wall, check for architectural obstacles. Windows, electrical switches, baseboards, and air vents all interrupt the visual flow of a photo arrangement. A wall with none of these interruptions gives you the most freedom.
Wall size directly controls how many frames you can hang comfortably. A spacious wall holds 6–8 frames at a balanced scale, while a long hallway can accommodate 12–15 frames without feeling crowded. That range matters because it tells you how many photos to print before you start.
Spacing between frames follows a clear standard. Experts recommend 2 to 6 inches between frames to prevent visual clutter and distribute focus evenly across the arrangement. Less than 2 inches feels cramped. More than 6 inches breaks the visual connection between pieces.
Key wall selection criteria:
- Traffic and visibility: Choose a wall people walk past or sit facing daily.
- Lighting: Natural or overhead light should illuminate the wall without creating glare on glass frames.
- Clear surface: No windows, switches, or vents cutting through the arrangement zone.
- Dimensions: Measure width and height before selecting frame sizes or quantities.
- Structural support: Confirm you can locate studs or use appropriate wall anchors for heavier frames.
For more detailed planning guidance, the gallery wall step-by-step guide at Emansgallery covers wall assessment in full.
How do you select and organize family photos for a cohesive display?
Photo selection is where most homeowners stall. The instinct is to include every great shot, but restraint produces a stronger result. Candid moments outperform posed portraits because they carry genuine emotion and hold a viewer’s attention longer.
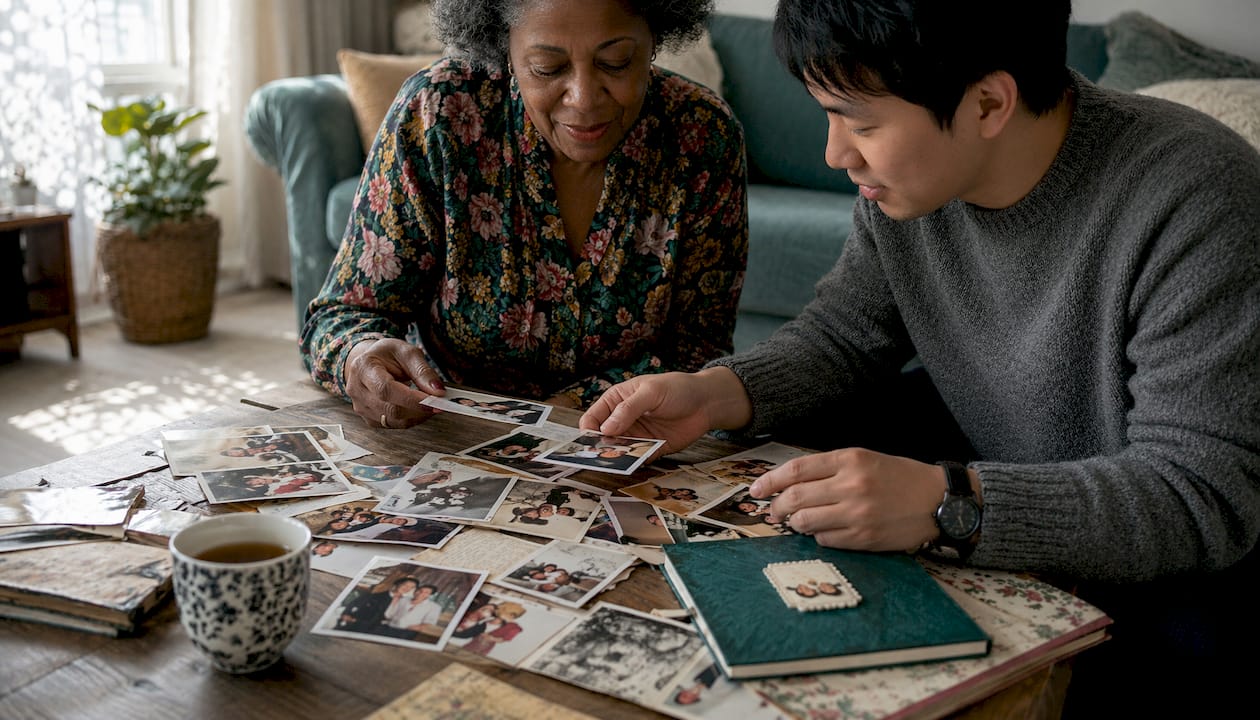
Visual consistency matters more than matching frames perfectly. Selecting photos with similar tonal qualities creates harmony even when frame styles vary. Converting a mixed set of photos to black and white is the fastest way to unify images taken across different years, seasons, and lighting conditions.
Grouping photos by theme or timeline creates narrative flow. A section for early childhood, one for annual vacations, and one for recent milestones gives guests a story to follow rather than a random collection to scan. That structure also makes future updates easier because you know exactly where a new photo belongs.
Orientation and size variation add rhythm to the arrangement. Mixing vertical and horizontal frames prevents the grid from feeling rigid. Standard frame sizes to work with include 5x7, 8x10, 11x14, and 16x20 inches. Using at least three different sizes creates visual movement across the wall.
Pro Tip: Print photos at a resolution of at least 300 DPI for any frame larger than 8x10 inches. Lower resolution images look sharp on a phone screen but pixelated when printed large.
Photo curation checklist:
- Choose candid, emotionally resonant shots over formal portraits.
- Apply consistent toning: all black and white, all warm, or all cool.
- Group by theme, season, or timeline for narrative structure.
- Mix vertical and horizontal orientations throughout the layout.
- Use at least three frame sizes for visual rhythm.
- Print at 300 DPI minimum for frames 8x10 inches and larger.
How to plan your gallery wall layout before hanging anything
Planning on the wall without a template leads to extra nail holes and misaligned frames. The correct method is to plan on the floor first. Testing your layout using kraft paper templates takes 15–20 minutes and prevents alignment errors that are difficult to fix once frames are hung.
Trace each frame onto kraft paper, cut out the shapes, and arrange them on the floor in front of the wall. This lets you test spacing, balance, and composition without any commitment. Once you are satisfied, tape the paper templates directly onto the wall and step back to assess the arrangement at full scale.
Every strong gallery wall has an anchor piece. This is the largest or most visually dominant frame in the arrangement. Position it slightly off-center rather than dead center. Off-center anchoring creates more visual interest and gives the eye a natural starting point before moving through the rest of the display.
Frame style coordination follows a simple rule: use 2–3 complementary frame types rather than one uniform style or a completely random mix. For example, pairing thin black metal frames with natural wood frames creates contrast without chaos. A third accent frame in brass or white adds depth without disrupting the palette.
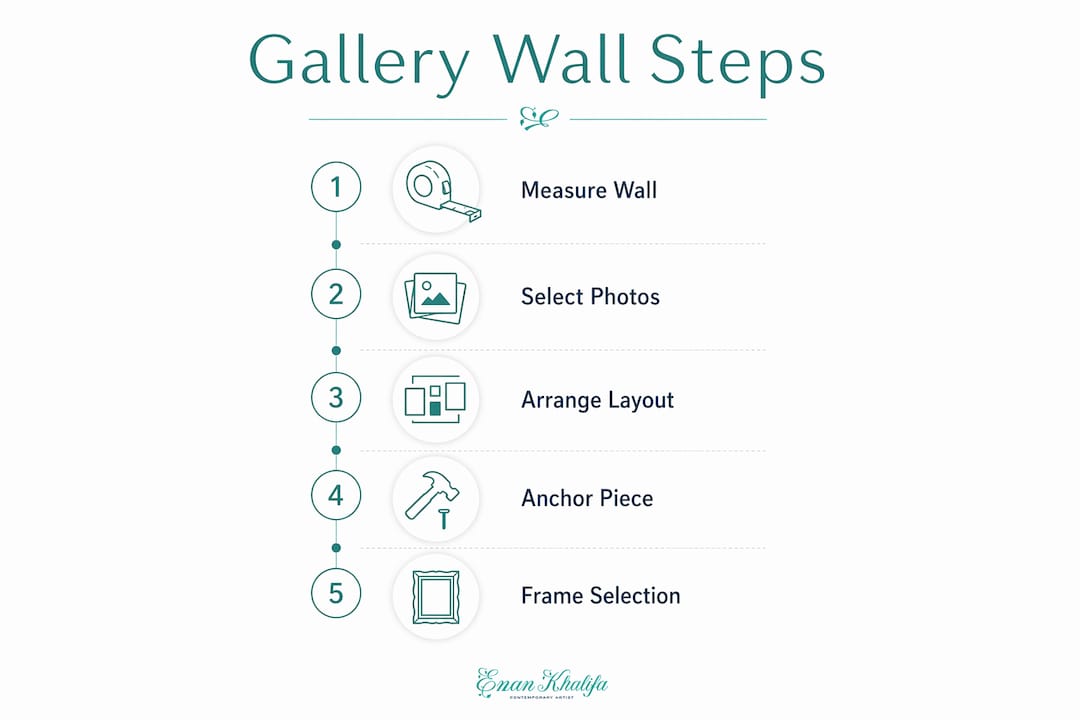
Layout planning reference
| Step | Action | Time needed |
|---|---|---|
| Measure the wall | Record exact width, height, and obstacle positions | 5 minutes |
| Cut paper templates | Trace each frame and label it | 10 minutes |
| Arrange on the floor | Test spacing and balance before committing | 15–20 minutes |
| Tape to the wall | Transfer the arrangement to the actual surface | 10 minutes |
| Mark nail positions | Use a thumbtack through the template to mark each point | 5 minutes |
Pro Tip: Attach self-leveling adhesive bumpers to the bottom corners of each frame before hanging. They keep frames flush against the wall and prevent tilting after bumps or vibrations.
For a complete layout checklist, the modern homes gallery wall checklist at Emansgallery covers every step in sequence.
Step-by-step guide to hanging your family photo gallery wall
Hanging order determines whether your arrangement looks balanced or lopsided. Always hang the anchor piece first. Center it at the correct height, then work outward in balanced directions, alternating left and right as you add frames.
- Hang the anchor frame first. Position it at eye level (57–66 inches to center) and use a spirit level to confirm it is perfectly horizontal before driving the nail fully.
- Check level on every third frame. A spirit level on the first frame and every third frame catches drift before it compounds across the arrangement.
- Maintain 2–3 inches between frames. Use a small piece of cardboard cut to that width as a consistent spacer while hanging.
- Match hardware to frame weight. Use standard picture hooks for frames under 5 pounds, heavy-duty wall anchors for larger frames, and Command strips for rental properties where wall damage is not permitted.
- Step back 8 feet after every third frame. Viewing the arrangement from a distance reveals imbalances that are invisible up close.
- Use modular or magnetic mounts for flexibility. Modular mounting systems turn a static display into a living one, letting you rotate or add photos without new nail holes.
Hanging a gallery wall is not a one-pass task. The best results come from hanging three frames, stepping back, assessing the balance, and adjusting before continuing. Rushing through the full arrangement without pausing leads to corrections that take longer than the original hang.
For detailed hanging techniques, the gallery-style hanging guide at Emansgallery covers hardware selection and alignment in depth.
How do you maintain and evolve your gallery wall over time?
A family photo display is not a finished project. It is a living record of your household, and it should change as your family does. Treating the gallery wall as an evolving space using modular or magnetic mounting systems makes updates effortless and keeps the display current.
Seasonal swaps are the simplest way to keep the wall fresh. Replacing three or four photos after a summer vacation or a holiday gathering takes under 30 minutes and gives the entire wall a new energy. You do not need to redesign the layout. Swapping content within the existing frame positions is enough.
Mixing 3D elements like shadow boxes or fiber art with flat photos adds texture and depth that a purely photographic wall cannot achieve. A shadow box holding a child’s first drawing, a ticket stub from a family trip, or a pressed flower from a garden adds dimension and personal meaning that photos alone cannot carry.
Pro Tip: Dust frames monthly with a dry microfiber cloth. Glass-fronted frames attract fingerprints and dust that dull the photos behind them. A clean frame makes the photo inside look sharper.
Maintenance and evolution habits:
- Swap 3–4 photos after each major family milestone or season.
- Check frame alignment monthly and straighten any frames that have shifted.
- Add shadow boxes or children’s artwork to introduce texture and 3D depth.
- Use modular mounts so new additions require no new nail holes.
- Photograph the current arrangement before making changes so you have a reference point.
Key Takeaways
A well-planned family photo gallery wall requires precise placement, consistent photo toning, a floor-tested layout, and modular hardware to stay current as your family grows.
| Point | Details |
|---|---|
| Eye-level placement | Hang the center of your arrangement 57–66 inches from the floor for comfortable viewing. |
| Consistent photo toning | Use all black-and-white or matching warm tones to unify photos taken across different years. |
| Floor template planning | Arrange kraft paper cutouts on the floor for 15–20 minutes before marking the wall. |
| Anchor piece first | Hang the largest frame first, slightly off-center, then work outward in balanced directions. |
| Modular mounts for updates | Use magnetic or modular mounting systems so you can swap photos without new nail holes. |
What I have learned from creating gallery walls with family photos
The most common mistake I see is treating a gallery wall as a one-time project rather than a living display. Families hang their photos, step back, feel satisfied, and then never touch the wall again. Five years later, the children in those photos look nothing like the children in the house, and the wall feels like a museum exhibit rather than a family home.
The second mistake is prioritizing perfection over personality. Clients sometimes spend weeks agonizing over frame finishes and spacing measurements while the photos themselves are an afterthought. A gallery wall with slightly imperfect spacing but genuinely meaningful photos will always outperform a geometrically perfect arrangement of generic portraits.
What actually works is starting with the photos that matter most and building the frame selection around them. If your most important family photos are warm-toned and candid, choose frames that complement that warmth. The interior design trends for 2026 confirm that personal, story-driven displays are replacing purely decorative arrangements in home design. That shift validates what I have always believed: the story your wall tells is more important than the style it follows.
One practical insight that surprises most people: dedicating a single cohesive gallery wall rather than spreading photos throughout the house creates far more emotional impact. Concentration beats distribution every time. A single powerful wall draws people in. Scattered photos across multiple rooms dilute the effect.
— Eman
Original art that completes your family gallery wall

A family photo display gains depth when it includes at least one original artwork alongside the photographs. Emansgallery offers original handmade paintings and museum-quality canvas prints that pair naturally with personal photo arrangements. The Private Eye original painting works as a statement anchor piece in any gallery wall, drawing the eye and giving the surrounding photos a stronger visual context. Emansgallery ships worldwide from the UK, USA, Canada, Australia, and across Europe, so quality original art reaches you wherever you are. Browse the full collection at Emansgallery to find a piece that completes your wall.
FAQ
What height should a gallery wall be hung at?
The center of a gallery wall arrangement should sit 57 to 66 inches from the floor, which aligns with average eye level. This standard applies to the visual center of the entire group, not to individual frames.
How many frames fit on a typical gallery wall?
A spacious wall comfortably holds 6–8 frames, while a long hallway can display 12–15 frames at a balanced scale. Wall width, frame sizes, and 2–6 inch spacing between frames all determine the final count.
What are the best frames for a gallery wall with family photos?
Standard sizes including 5x7, 8x10, 11x14, and 16x20 inches work best because they accommodate a wide range of photo orientations. Using 2–3 complementary frame styles, such as thin black metal paired with natural wood, creates visual interest without visual chaos.
How do you keep gallery wall frames level over time?
Attach self-leveling adhesive bumpers to the bottom corners of each frame before hanging. These bumpers keep frames flush against the wall and prevent tilting after bumps or vibrations.
Can you update a gallery wall without making new holes?
Modular or magnetic mounting systems let you rotate, add, or remove photos without driving new nails. This approach turns a static family photo display into a flexible arrangement that grows with your family.
Stay Connected
- ✨ Explore Eman Khalifa's original art, fine art prints and art-inspired merchandise.
- Follow Eman Khalifa's art journey on: Instagram @emans_gallery and Facebook
- Watch Eman Khalifa creating live art on: YouTube @emans_gallery
