


Decorate a T-Shirt in an Afternoon: Beginner Steps and Artist Tips
The fastest routes to a custom T-shirt are fabric paint with stencils, heat-transfer vinyl (HTV), iron-on transfer paper, and Sharpie tie-dye, with bleach and screen printing as step-up options. Pick HTV for crisp text or logos, fabric paint for an artsy one-of-a-kind look, iron-on transfer paper for a quick one-off gift, and Sharpie tie-dye for a kid-friendly afternoon project.
TL;DR:
- Dark shirts need opaque underbases or transfers and vinyl made for dark fabric; otherwise, designs may look muted or disappear against the garment.
- Sublimation works only on polyester or polyester blends, while direct to film transfers suit nearly any fabric; choose the latter for cotton shirts.
- Position front designs about 3 inches below the collar, keep chest graphics 3 to 4 inches wide, and choose bold fonts for lasting detail.
- Heat set fabric paint only after it dries fully, then wash decorated shirts inside out in cold water and avoid the dryer when possible.
Table of Contents
- At-a-glance: what each DIY method looks like and costs
- Materials and tools you actually need (organized by method)
- Step-by-step: freezer-paper stencils and freehand fabric painting
- Step-by-step: how to do HTV and iron-on transfer paper
- Sharpie tie-dye, classic tie-dye basics, and bleach stencil techniques
- When to choose screen printing, sublimation or DTF, home basics and trade-offs
- How to size and place your design, choose colors and fonts
- Heat-setting, washing, fixes for common problems
- Artist-led notes from Eman’s Gallery: color, preservation and printable art thinking
- Publisher perspective: when DIY is best and when to consider buying an artist-made tee
- Designer tees and art-printed merchandise from Eman’s Gallery
- FAQ
- Sources
- Stay Connected
- Stay Connected
At-a-glance: what each DIY method looks like and costs
Every method trades cost, skill, and durability differently, and the right pick depends on what the shirt is for. A party favor for ten kids calls for a different method than a wearable piece of art meant to last years.
- Fabric paint and stencils: Beginner-friendly, low startup cost, soft washable finish once heat-set, best for artsy or one-of-a-kind designs.
- Heat-transfer vinyl (HTV): Moderate learning curve with a cutting machine, mid-range cost, produces crisp long-lasting graphics once applied correctly, best for logos and clean text.
- Iron-on transfer paper: Very beginner-friendly, low cost, needs only a printer and an iron, best for one-off gifts and photo-based designs.
- Sharpie tie-dye: Extremely beginner-friendly, lowest cost, playful and unpredictable results, best for kids’ activities and parties.
- Classic tie-dye and bleach stenciling: Low to moderate cost, moderate mess, best for party shirts and artisanal pieces that do not need to be identical.
- Screen printing, sublimation, and direct-to-film (DTF): Higher skill and equipment investment, most durable and repeatable results, best for batch orders or when a pro-grade finish matters more than DIY charm.
According to a comparison of home t-shirt methods, HTV and iron-on transfer paper rank among the easiest methods for beginners, while screen printing and sublimation sit among the most durable but demand more equipment. The same overview notes that bleach and fabric paint fall among the most artisanal, lowest-cost options, well suited to one-of-a-kind pieces, though results are harder to repeat exactly than printed methods.
If the shirt is dark, plan ahead. Most home methods need an opaque underbase or a transfer and HTV made for dark fabric, according to the same t-shirt printing guide, or the design ends up muted or invisible against the fabric.
Materials and tools you actually need (organized by method)
Gathering the right supplies before you start saves a ruined shirt later. Here is what each method actually requires, plus a few universal basics every project needs.
- Fabric paint and stencils: Acrylic craft paint, textile medium to soften the hand-feel, freezer paper or precut stencils, foam pouncers or soft brushes, painter’s tape.
- HTV: Heat-transfer vinyl sheets, a cutting machine, a weeding tool, a household iron or heat press, a Teflon or parchment sheet.
- Iron-on transfer paper: Inkjet or laser transfer paper matched to your printer type, a computer or phone for the design, scissors, a household iron.
- Sharpie tie-dye: Permanent markers, rubbing alcohol in a spray bottle or dropper, cardboard, rubber gloves.
- Bleach stenciling: Diluted bleach in a spray bottle, stencils, rubber gloves, a well-ventilated space, a neutralizing rinse.
- Screen printing starter kit: A screen, emulsion, a squeegee, plastisol or water-based ink, and a flat pressing surface.
Across every method, keep a few universal essentials on hand: cardboard or foam board to slide inside the shirt, a lint roller to clear stray fibers before painting or pressing, and a parchment or Teflon sheet to protect both the design and your iron. Freezer-paper stenciling is especially cheap and produces a soft, washable finish when the paint is mixed with textile medium, which also makes it one of the more repeatable methods for batch projects like team shirts.
Safety matters more than it looks. Bleach needs open windows or outdoor space and gloves, since fumes and skin contact both cause irritation. Fabric paints and inks should be stored upright and away from heat, and anyone cutting vinyl or weeding small text should work under good light to avoid eye strain.
Pro Tip: Keep a scrap T-shirt or fabric swatch on hand to test paint opacity, iron temperature, or bleach dilution before committing to the real shirt.
Step-by-step: freezer-paper stencils and freehand fabric painting
Painting is the most forgiving method for a handmade look, and it rewards patience more than equipment.
- Prewash the shirt without fabric softener, then insert a piece of cardboard between the front and back layers so paint does not bleed through.
- Design your stencil, then cut it from freezer paper with a craft knife, keeping small details connected with thin bridges.
- Iron the freezer paper shiny-side down onto the shirt so it bonds temporarily and creates a sealed edge.
- Apply paint with a foam pouncer in a light dabbing motion, or a soft brush in thin layers, building opacity with two or three light coats rather than one thick one.
- Let the paint dry to the touch, usually 20 to 30 minutes, before peeling the stencil away slowly to avoid lifting wet paint.
- Heat-set once fully dry, typically after 24 hours, by ironing through a parchment sheet for 30 to 60 seconds per section, following the paint manufacturer’s guidance for heat-setting acrylic paint on fabric.
Statistic Callout: Freezer-paper stenciling is called out as one of the lowest-cost DIY methods with a washable finish once properly set, making it a strong entry point for a first project.
Metallic paints need an extra light coat to avoid a chalky look, and layered stencils, cut one color at a time and registered carefully with tape, let you build multi-color designs without bleeding. Always place cardboard or foam board inside the shirt and keep the fabric taped flat, since movement during painting is one of the most common causes of smudged edges.

Step-by-step: how to do HTV and iron-on transfer paper
Vinyl and transfer paper both deliver sharp, printed-looking graphics, but they use opposite logic: HTV is cut and weeded, transfer paper is printed and trimmed.
- Measure your shirt and size the design in your cutting software or document, mirroring the image horizontally for HTV since it applies face-down.
- Load the vinyl or transfer sheet and set your cutter or printer to the material’s recommended settings.
- Cut the vinyl, then weed away the excess material, using a hook tool and tweezers for small text or fine details. For tiny lettering, a slower cut speed and higher downforce prevents torn letters, and weeding from the center outward keeps delicate pieces intact.
- Center the design on the shirt, press with a household iron or heat press at the temperature the vinyl or paper specifies, holding firm even pressure for the full recommended time.
- Peel the carrier sheet according to the product’s instructions, warm peel for most HTV, cold peel for some transfer papers, then press again briefly to fully set the adhesive.
Pro Tip: Pre-press the shirt for 5 to 15 seconds before applying vinyl to remove moisture, and slide a folded towel under seams so the iron presses evenly across the design.
Wash HTV and transfer designs inside out on a cold, gentle cycle and skip the dryer when possible. Skipping this step is the most common reason a once-crisp design turns plasticky or starts peeling at the edges within a few washes.
Sharpie tie-dye, classic tie-dye basics, and bleach stencil techniques
These three techniques share a low barrier to entry and a willingness to embrace unpredictable results, which makes them ideal for group projects and kids.
- Sharpie tie-dye: Draw dots or patterns with permanent markers, then lightly mist with rubbing alcohol to spread the ink into a tie-dye-like bloom, according to the UCR Gluck Program’s Sharpie tie-dye guide.
- Preventing bleed-through: Insert cardboard inside the shirt before drawing or spraying, since alcohol spreads ink quickly and can soak through to the back layer.
- Setting the color: Let the shirt dry fully, then set the ink with a hot iron for about 5 minutes or a clothes dryer on high for about 15 minutes before the first wash, per the same Sharpie tie-dye guide.
- Classic tie-dye folds: Spiral folds spread dye in concentric swirls, while accordion folds create clean stripes; twist tightly with rubber bands before applying dye for sharper lines.
- Bleach stenciling: Dilute bleach with water in a spray bottle, place a stencil over dark cotton, and mist lightly rather than soaking, letting the color lift gradually.
- Neutralizing and cleanup: Rinse bleached fabric with water and a mild vinegar solution to stop the bleaching action, and wear rubber gloves and work in a ventilated space throughout.
When to choose screen printing, sublimation or DTF, home basics and trade-offs
Stepping up from painting and vinyl to screen printing, sublimation, or direct-to-film printing buys you repeatability and a more professional finish, at the cost of more equipment and a steeper learning curve.
- Screen printing: Needs a screen, emulsion, a squeegee, and ink, and rewards practice with registration and even ink coverage; best for batch runs of the same design.
- Sublimation: Works only on polyester or poly-blend fabric since the dye bonds to synthetic fibers, which rules out 100% cotton shirts.
- DTF (direct-to-film): Prints onto a special film, then heat-presses onto nearly any fabric, offering more flexibility than sublimation without a full screen setup.
- Durability: All three methods, done correctly, tend to outlast basic iron-on transfers and hold up to repeated washing better than painted designs.
- When to outsource: Large orders, multi-color designs, or photo-quality graphics on cotton are usually more efficient and consistent through a print shop than a home setup.
How to size and place your design, choose colors and fonts
Placement and sizing decisions make the difference between a design that looks intentional and one that looks like an afterthought.
- Front center placement: Position the top of the design roughly 3 inches below the collar seam on adult sizes, slightly less on youth sizes.
- Left chest designs: Keep the graphic small, generally 3 to 4 inches wide, centered between the collar and the underarm.
- Back designs: Oversized back prints paired with a small chest logo are a current favorite, according to Shopify’s t-shirt design trends, which also points to minimalist line art, retro motifs, and Y2K-inspired graphics as popular directions.
- Color contrast: Preview your palette against the actual shirt color before committing, since garment base color changes how a hue reads once applied.
- Typography: Choose bold, simple fonts over thin or script styles, since fine details tend to blur or crack after a few washes.
| Placement | Typical width | Best for |
|---|---|---|
| Front center | 10 inches | Statement graphics, event shirts |
| Left chest | 3 to 4 inches | Logos, small monograms |
| Back (full) | 12 inches | Oversized art, team names |
Heat-setting, washing, fixes for common problems
Locking in your work properly is what separates a shirt that lasts years from one that fades after a single wash.
- Fabric paint: Iron through parchment for 30 to 60 seconds per section once the paint is fully dry, following the heat-setting guidance for acrylic paint on fabric.
- Sharpie designs: Set with a hot iron for 5 minutes or a dryer on high for 15 minutes before the first wash, per the Sharpie tie-dye instructions.
- HTV and transfers: Press again after the initial application, following the product’s final-set instructions, to fully bond the adhesive.
- First wash: Turn the shirt inside out, wash cold, and skip the dryer when possible to protect both paint and vinyl.
- Peeling vinyl: Re-press the lifted edge with a cloth between the iron and the design, using firm pressure for 10 to 15 seconds.
- Paint bleed: Dab excess paint immediately with a damp cloth, or touch up small bleed spots once dry with a fine brush.
If a stray mark from printmaking ink or paint lands on clothing outside the project, our guide on removing printmaking ink from clothes walks through a quick stain-removal process.
Pro Tip: Keep a small iron-safe cloth nearby during pressing. It protects both your design and your iron plate from stray adhesive or paint residue.
When a shirt is too far gone, badly cracked vinyl, muddied paint, or uneven bleach, it is often faster to start a fresh shirt than to keep troubleshooting one that fought you from the start.
Artist-led notes from Eman’s Gallery: color, preservation and printable art thinking
We think about a T-shirt the same way we think about a small canvas: color only reads true once you see it against its actual background. Before committing to paint, test your palette on a scrap of the same shirt fabric, not on paper or a screen, since matching colors to a base surface changes how a hue appears once it is surrounded by fabric rather than white space.
A design printed once and worn for years asks different questions than a design meant to be repeated across a hundred shirts. One rewards expressive brushwork and imperfect edges. The other rewards precision and registration.
Treating a shirt as a wearable, one-of-a-kind piece rather than a repeatable product changes your choices at every step, from stencil to heat-set, and it is the mindset behind how we approach custom artwork in any medium.
— Eman
Publisher perspective: when DIY is best and when to consider buying an artist-made tee
DIY earns its place when the goal is personalization, learning, or a party where a slightly imperfect result is part of the charm. Buying makes more sense when color fidelity, lasting detail, and a finished look matter more than the process itself.
Before you decide, ask yourself four questions: how much time do you actually have, how many shirts do you need, what finish are you after, and are you genuinely willing to learn a new technique. If the honest answers point toward “not much time, one shirt, needs to look polished,” a ready-made artist-printed tee closes that gap faster than another trip to the craft store.
Designer tees and art-printed merchandise from Eman’s Gallery
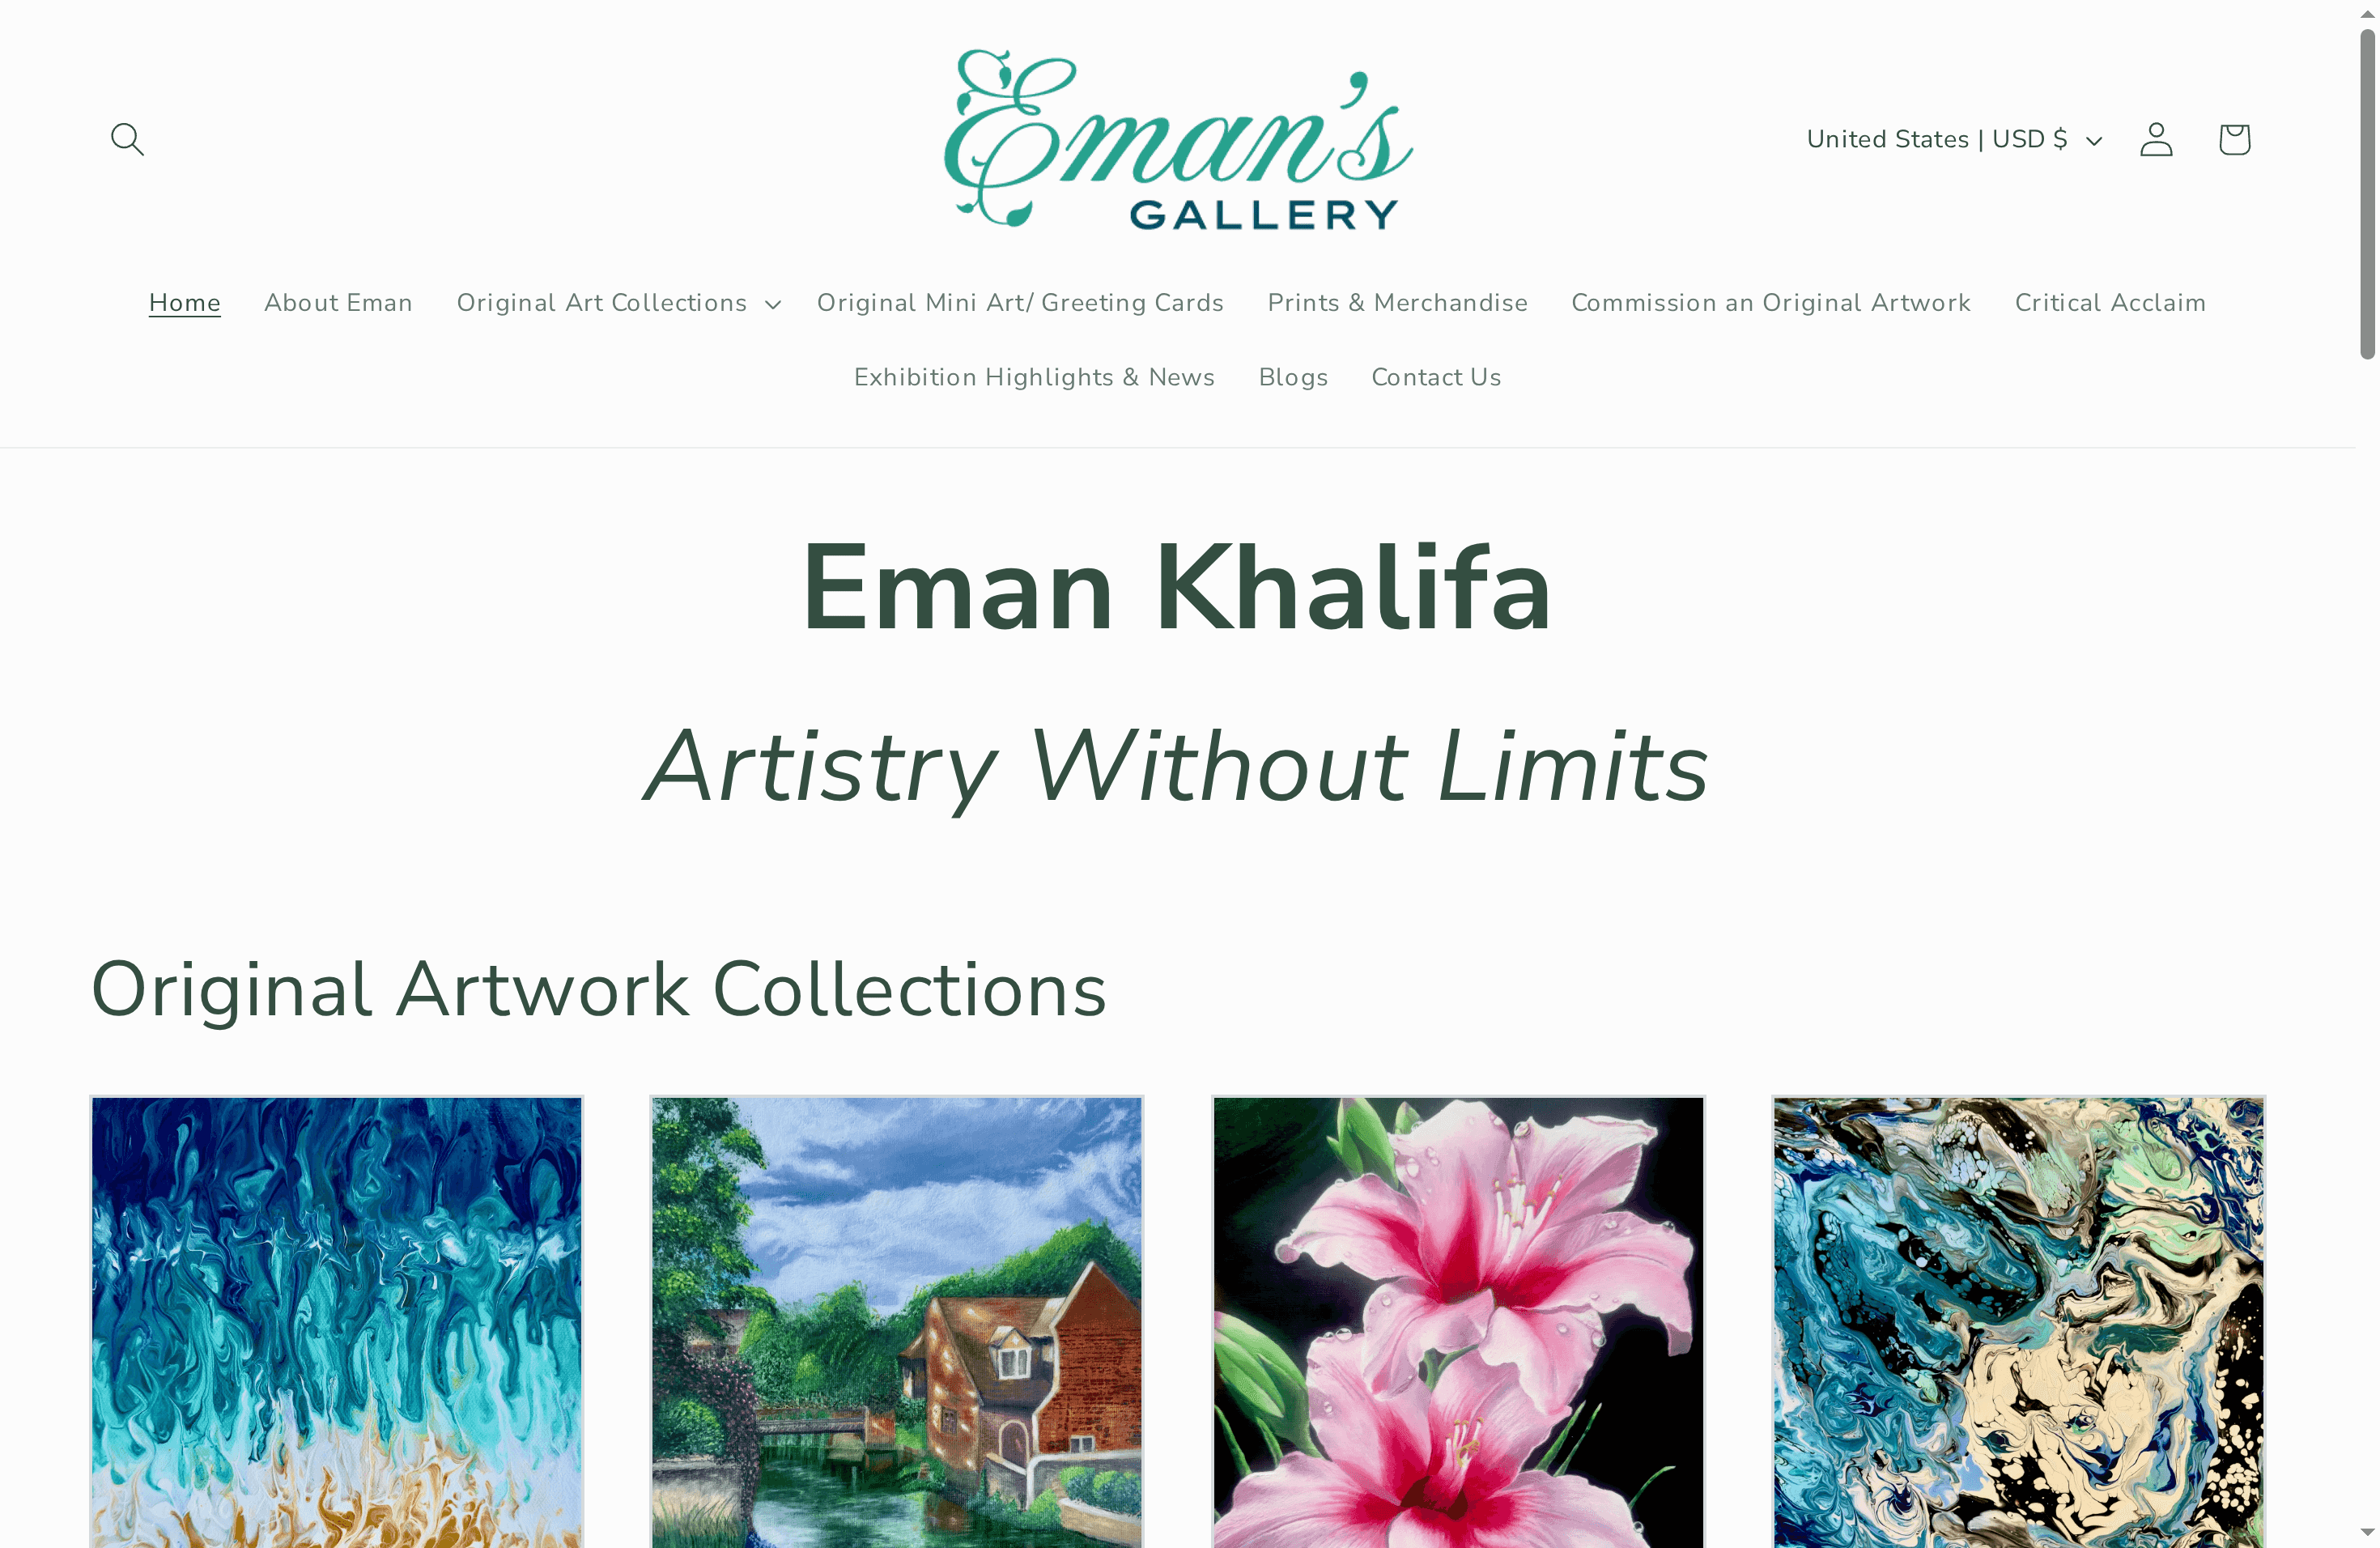
When a hand-painted or heat-pressed project is not the plan, we offer a faster route to a wearable piece of art. Our designer unisex t-shirts collection carries Eman Khalifa’s original paintings reproduced on fabric, so the color fidelity and detail that take hours to approach by hand come finished and ready to wear. For readers who want a custom shirt made by someone else entirely, T-shirt by Mail produces band and nostalgia tees through the mail, a different route worth knowing about if your interest leans toward music or film graphics rather than fine art. If you would rather build toward an original piece for your wall instead of your closet, browse our original paintings and see how the same color thinking behind our shirts carries into a full canvas.
FAQ
What can I use to decorate my T-shirt?
Fabric paint with stencils, heat-transfer vinyl, iron-on transfer paper, Sharpie markers with rubbing alcohol, and bleach stencils all work well for beginners. Each method varies in cost and durability, so pick based on the finish you want and how many shirts you are making, as outlined in a comparison of DIY and professional methods.
How do I turn a plain T-shirt into something cute?
A simple front-center design, like a line-art graphic or a small embroidered-look patch made with fabric paint, instantly upgrades a plain shirt. Pairing a bold front design with a smaller back detail or a contrasting color palette, tested against the shirt’s actual base color, tends to look the most intentional.
How can I make my T-shirt look dressy?
Keep the design minimal, a single small chest logo or a subtle monogram rather than a loud full-front graphic, and choose a clean, bold font over scripty lettering. Muted or tonal color palettes that closely match the shirt base also read as more polished than high-contrast craft-store combinations.
What is the easiest way to design a T-shirt?
Iron-on transfer paper is generally the easiest method since it needs only a printer and a household iron, with no cutting machine required.
Sources
- T shirt printing at home: 6 DIY methods (ArtForge)
- How to make a custom T-shirt (MellySews)
- SHARPIE TIE-DYE guide (UCR Gluck Program)
- T-shirt design ideas (Shopify)
Stay Connected
Stay Connected
- ✨ Explore Eman Khalifa's original art, fine art prints and art-inspired merchandise.
- Follow Eman Khalifa's art journey on: Instagram @emans_gallery and Facebook
- Watch Eman Khalifa creating live art on: YouTube @emans_gallery
